Creating a Window Seat
Reference Number:
KB-00856
Last Modified:
October 11, 2021
This article also applies to the following legacy products:
Pro | Architectural | Suite
Pro | Architectural | Suite
QUESTION
I have a bump-out with a window and would like to create a window seat for it. How do I do that?

ANSWER
A window seat can be easily placed in your bump-out using the Base Cabinet tool.
To create a window seat
-
Select Build> Cabinets> Base Cabinet
 and click in the plan to place one or more cabinets.
For the purpose of this example, three base cabinets were used.
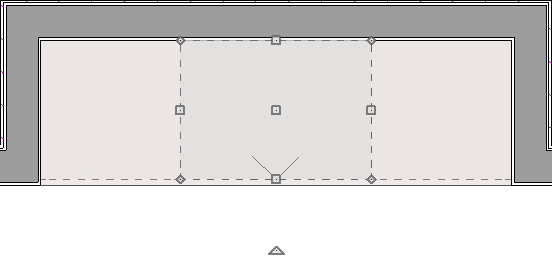
- Move the cabinets into place in the bump-out.
You may need to hold down the Control key on your keyboard, or the Command key if you are working on a Mac, while moving the cabinets to allow for unrestricted movement.
- Use the various edit handles on the cabinets to resize them to fit in bump-out space.
- Next, select the first cabinet using the Select Objects
 tool and click on the Open Object
  edit tool.
-
On the Front panel of the Base Cabinet Specification dialog that displays:
-
Select the backsplash in the preview, if one is present, and click on the Delete button.
-
Repeat this process to Delete the toekick and drawer as well, leaving just doors for the cabinet.
-
Select the countertop in the preview, and increase its thickness using the Item Height field.
For the purposes of this example, we changed it to 3".
-
Select the backsplash in the preview, if one is present, and click on the Delete button.
-
Go to the Door/Drawer panel to select whether or not to display handles or hinges on your doors and change their location.
- Select the Materials panel, select the Countertop component and click the Select Material button to display the Select Material dialog, which allows you to choose an appropriate fabric for your window seat.

Set the remaining materials for the rest of your cabinet including the cabinet itself, the door(s), and the hardware.
- Click OK to apply the changes and close the dialog.
- Repeat these steps for the remaining cabinets, then take a Camera
 view to see the results.
Related Articles