Creating a Manual Bay Window
Reference Number:
KB-00136
Last Modified:
July 21, 2021
This article also applies to the following legacy products:
Pro | Architectural | Suite
Pro | Architectural | Suite
QUESTION
I know how to use the automatic tools to create a bay, bow, or box window, but I would also like to know how to manually create these. How can I accomplish this task?

ANSWER
It is possible to manually create a bumpout for a bay window by creating a small room and adjusting the floor and ceiling heights.
Creating a manual bay window
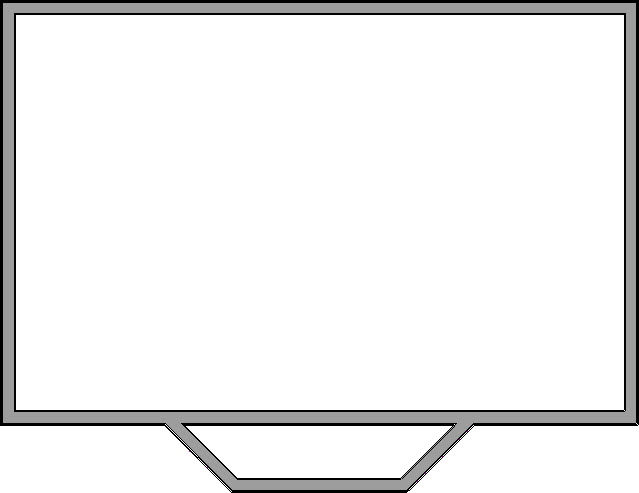
- Using the Straight Exterior Wall
 tool, draw three additional walls connected to the structure, at the size you would like the bumpout for the bay window to be.
- Once the additional walls are in place, you will be able to add windows by selecting Build> Window> Window
 from the menu, and clicking in the wall.
You can open the Window Specification dialog to make changes to the window size, number of lites, materials, and other features as desired.
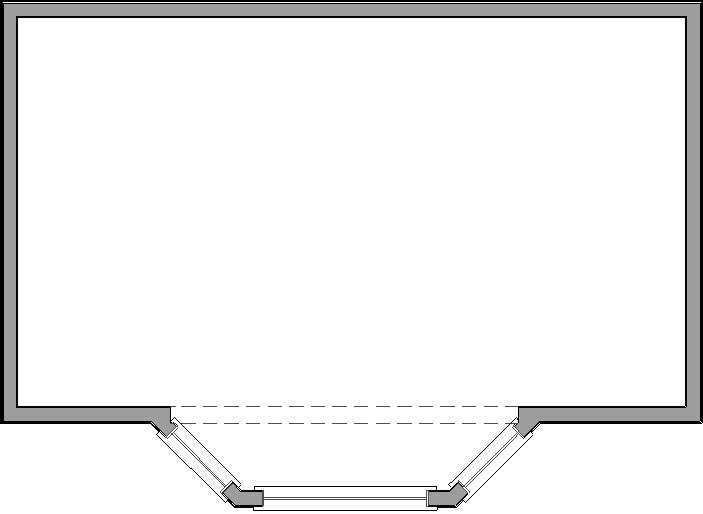
- After you have placed a window in each wall, you will want to make the bay window accessible from the rest of the structure by selecting Build> Door> Doorway
 and click to place a doorway in between the main structure and the bay window.
- Once placed, select the Doorway and click the Open Object
 edit tool to display the Doorway Specification dialog.
- On the Casing panel, remove all check marks in the check boxes for Use Interior Casing, Use Exterior Casing and Sill/Threshold, then click OK.
If you want to leave the casing around the doorway, do not suppress it.
- Then, if needed, resize the doorway so that it extends the length of the bay window.
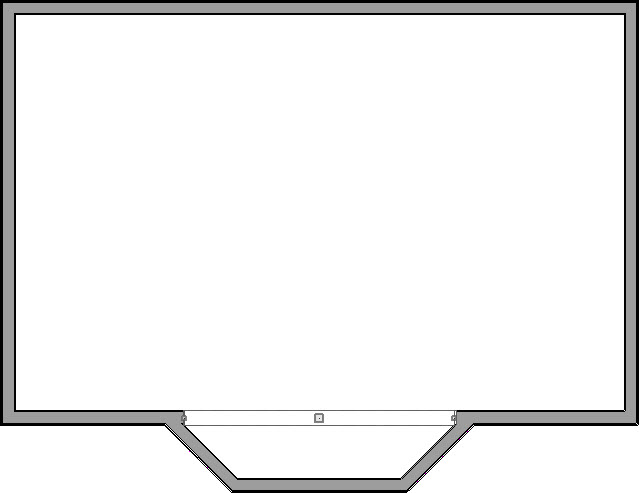
- Next, using the Select Objects
 tool, select the bay window room area and click on the Open Object edit tool.
- In the Room Specification dialog that displays:
- On the Structure panel, adjust the Floor and Finished Ceiling values.
For the purposes of this example, we raised the Floor height value to 24" and the Finished Ceiling height to 79".
- On the Moldings panel, adjust the molding properties for this.
In this example, we have deleted the default Base Molding.
- Click OK when you have completed making changes.
- On the Structure panel, adjust the Floor and Finished Ceiling values.
- Create a Camera
 view to see the results.
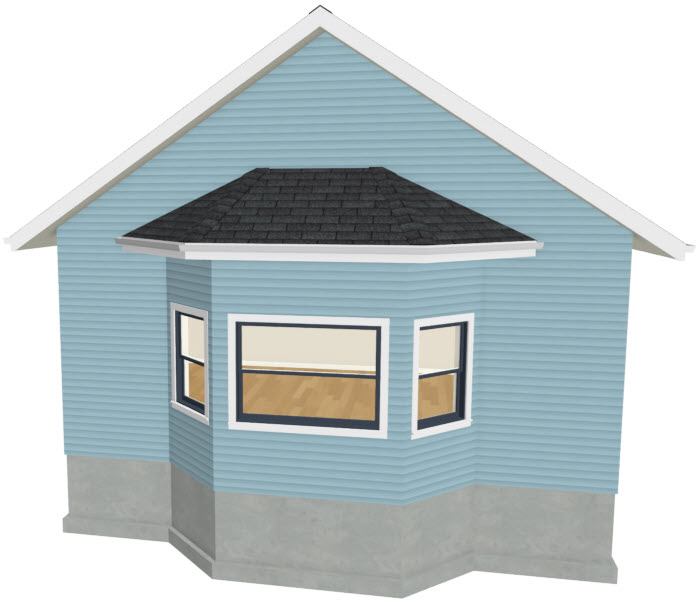
Now that you understand how to manually create a bay, box, or bow window, you can take this knowledge and apply it to your own designs.