Adding Shutters, Curtains, or Blinds to Windows in Home Designer
Pro | Architectural | Suite
QUESTION
I would like to add window treatments to my windows. How can I do this?

ANSWER
Window treatments can be added to your designs, but the process to do so may be slightly different depending on what product you're using. In Home Designer Architectural and Home Designer Pro, curtains, blinds, and shutters can be added to windows automatically using the Window Specification dialog. In Home Designer Suite, shutters can be added automatically, but curtains and blinds must be placed from the library as separate objects and then moved into position.
Adding window treatments automatically
- Select Build> Window> Window
 from the menu, then click along a wall in your plan to place a window at that location.
The steps below can also be applied to the Window Defaults, which can be accessed by navigating to Edit> Default Settings in a plan, and selecting the Window category.
- With the Select Objects
 tool, select the window and click the Open Object
  edit button.
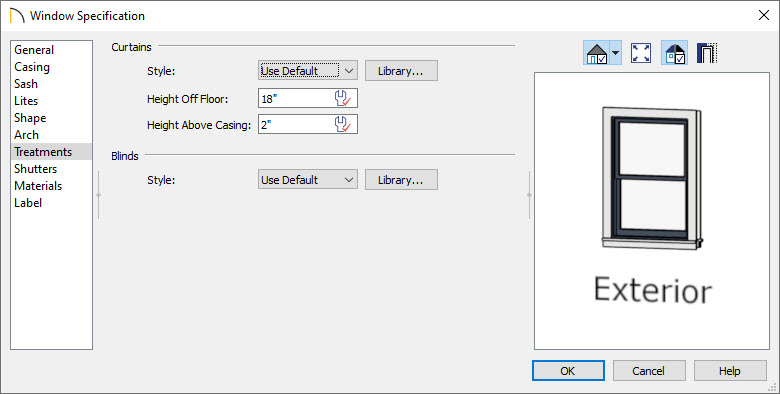
- In the Window Specification dialog that displays, select the Treatments* panel to add curtains or blinds, or select the Shutters panel to add shutters.
*Only available in Home Designer Architectural and Home Designer Pro.
- Click the Library button next to the desired Style option. For shutters, you can select the Type drop-down menu to select a Panel or Louvered shutter, or select the Library button.
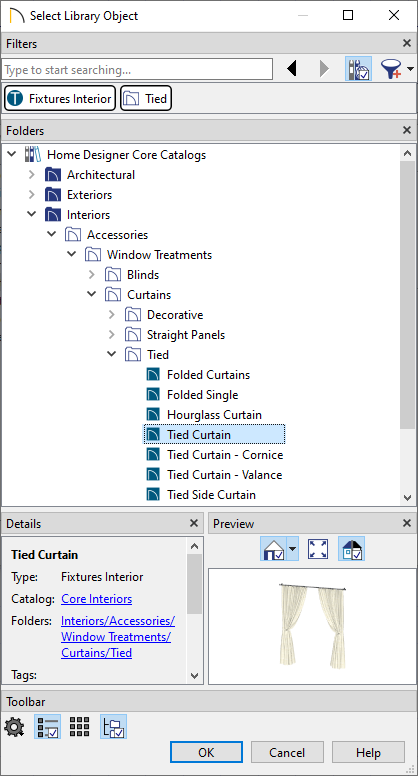
- If the Library button was selected, a Select Library Object dialog will open. Browse to Home Designer Core Catalogs> Interiors> Accessories> Window Treatments to see an assortment of curtains and blinds to choose from, or navigate to Home Designer Core Catalogs> Architectural> Millwork> Exterior Shutters.
- Select a window treatment that suits your needs, then click OK.
- If a curtain style has been chosen, specify a Height Off Floor and Height Above Casing value. If a shutter type has been selected, adjust the Size and Position properties to your liking.
Note: Shutters can be displayed open or closed using the Show Closed checkbox located on the Shutters panel. In addition to this, you can specify the louver size when the Louvered Shutter Type is specified.
- Click the Library button next to the desired Style option. For shutters, you can select the Type drop-down menu to select a Panel or Louvered shutter, or select the Library button.
- Once all desired changes have been made, click OK.
Adding window treatments manually
- Select View> Library Browser
 from the menu to open the Library Browser if it's not already open.
- Browse to Home Designer Core Catalogs> Interiors> Accessories> Window Treatments or Home Designer Core Catalogs> Architectural> Millwork> Exterior Shutters, then select a window treatment that suits your needs.
In this example, the Tied Curtain - Valance treatment is used.
- When you move your cursor into the drawing area, your cursor may display the Fixtures
 or Millwork
  icon. Click to place the selected window treatment at that location. If you click close to a wall, the object will snap to the surface of the wall.

-
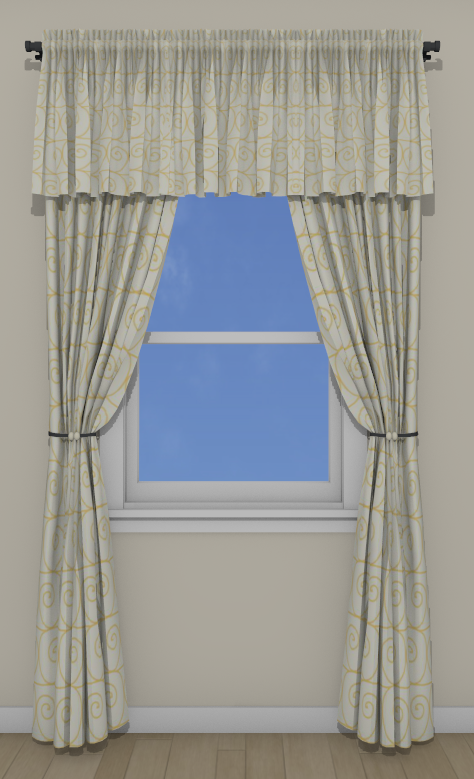
To see the results so far, select 3D> Create Camera View> Full Camera
 from the menu, then click and drag a camera arrow towards the side of the window with the window treatment.
In Home Designer Pro, navigate to 3D> Create Perspective View> Full Camera instead.
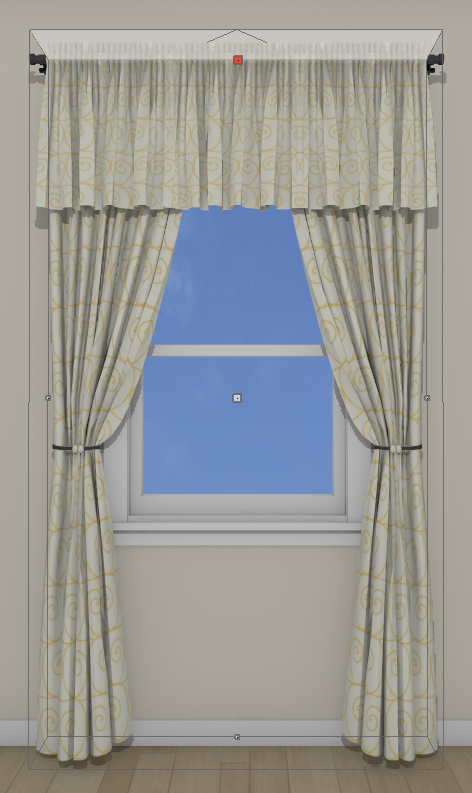
- In the camera view, click the Select Objects tool, then click on the window treatment to select it. It is often easiest to select the object near its top edge. You can resize and reposition the object using its edit handles.
- To change the materials for the treatments while in a camera view, select 3D> Material Painter> Material Painter
 from the menu, and in the Select Material dialog that appears, browse the Materials library folder to find fabric, paint colors, and other materials to apply. With a material selected, click once on the treatment component you want to apply it to.
You can also select the treatment using the Select Objects tool, click the Open Object edit button to display its Specification dialog, and modify the applied materials on the Materials panel.