Changing Your Dimension Settings
Pro | Architectural | Suite
QUESTION
When I use the Auto Exterior Dimensions or Manual Dimension tools, the dimension lines do not locate the objects and walls how I'd like them to. How can I adjust their settings?
ANSWER
You can specify what objects your dimensions locate and how dimensions locate walls by changing the settings within the Dimension Defaults dialog.
In legacy products Home Designer Suite and Home Designer Architectural you can only change how dimensions locate walls.
This article will cover the following:
- Modifying how dimensions locate walls and objects (Applies to Home Designer 2026 and newer, as well as legacy Home Designer Pro)
- Modifying how dimensions locate walls in legacy Home Designer products
- Modifying the appearance of dimensions
Modifying how dimensions locate walls and objects*
*Applies to Home Designer 2026 and newer, as well as legacy Home Designer Pro.
-
With a plan open, select Edit> Default Settings
 , select the Dimension option, then click Edit.
- In the Dimension Defaults dialog, on the Setup Automatic panel:
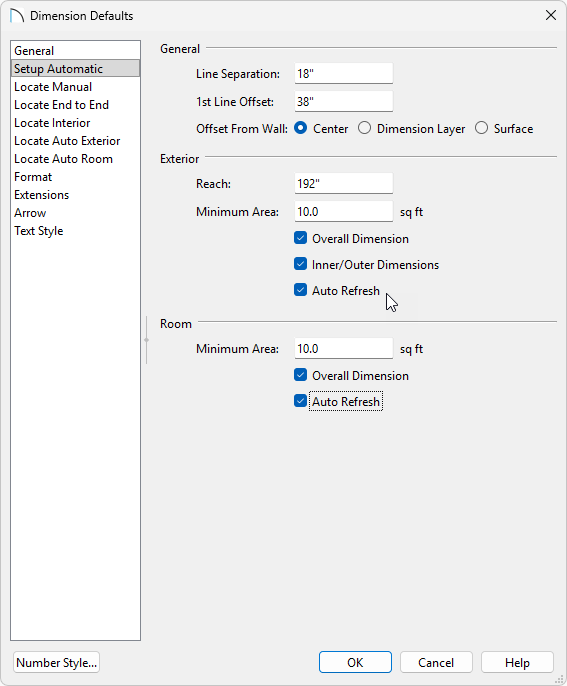
- Control various aspects of your Auto Exterior Dimensions. For now we will focus on having Auto Refresh enabled, this way any changes you make on the Locate Auto Exterior panel will automatically refresh.
- Enable Auto Refresh for your Auto Room Dimensions. Once generated your Auto Room Dimensions will update as you make changes to your design.
Auto Room Dimensions will not automatically generate. To generate Auto Room Dimensions, select a room (or rooms), and use the Auto Room Dimension edit tool.
To learn more about these options click the Help button to open your program's documentation.
- Control various aspects of your Auto Exterior Dimensions. For now we will focus on having Auto Refresh enabled, this way any changes you make on the Locate Auto Exterior panel will automatically refresh.
- Remaining in the Dimension Defaults dialog:
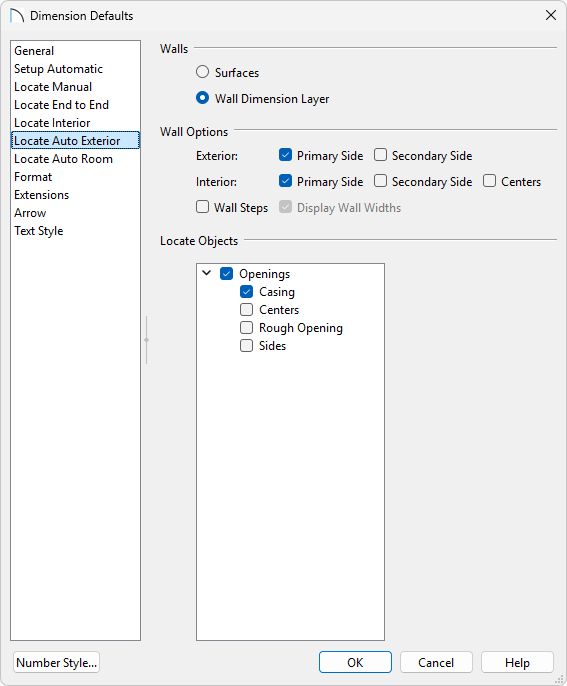
- On the Locate Auto Exterior panel, you can adjust how the Auto Exterior Dimension tool will dimension your design. Choose the wall dimension method, which side of your walls you'd like to be dimensions, and choose if you'd like the openings to be dimensioned.
- On the Locate Auto Room panel, you can adjust how the Auto Room Dimension edit tool will dimension your design. Choose the wall dimension method and which objects within your room you'd like to be dimensioned.
If you have enabled Auto Refresh as mentioned above, your dimensions will automatically adjust after clicking OK. If Auto Refresh is not enabled you will need to regenerate your dimensions to see your changes take effect.
To learn more about these options, click the Help button to open your program's documentation.
- Visit the other various Locate panels to change how the Manual Dimension, End to End Dimension, and Interior Dimension tools will locate objects when used.
For information on adjusting the appearance of your dimensions, please see the Modifying the appearance of dimensions section.
- On the Locate Auto Exterior panel, you can adjust how the Auto Exterior Dimension tool will dimension your design. Choose the wall dimension method, which side of your walls you'd like to be dimensions, and choose if you'd like the openings to be dimensioned.
- Click OK and Done to save your changes.
Modifying how dimensions locate walls in legacy Home Designer products*
*Applies to legacy Home Designer Suite and Home Designer Architectural.
-
With a plan open, select Edit> Default Settings , select the Dimension option, then click Edit.
- On the Setup panel of the Dimension Defaults dialog that opens:
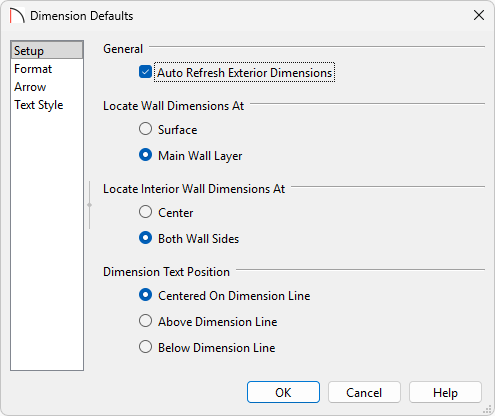
- Choose whether or not to have automatic exterior dimensions update or refresh any time a change is made to a wall, window, or door.
- Change how walls are located in the plan.
- Choose the location of the dimension text in relation to the dimension line.
The settings on this panel will adjust both the Auto Dimension tools and the Manual Dimension tools.
To learn more about these options click the Help button to open your program's documentation.
- Click OK.
- Choose whether or not to have automatic exterior dimensions update or refresh any time a change is made to a wall, window, or door.
- Refresh your Auto Exterior dimensions by going to CAD> Dimensions> Auto Exterior Dimensions
 or use the various Dimension
  tools to dimension your design.
-
With a plan open, select Edit> Default Settings , select the Dimension option, then click Edit.
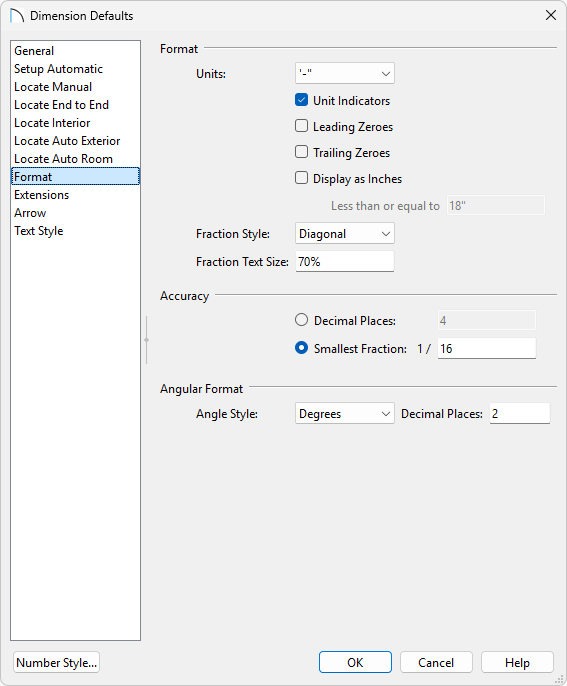
- On the Format panel, adjust the unit type and fraction accuracy.
In Home Designer 2023 and newer versions, various fractional styles are also available, including horizontal, diagonal, and vertical.
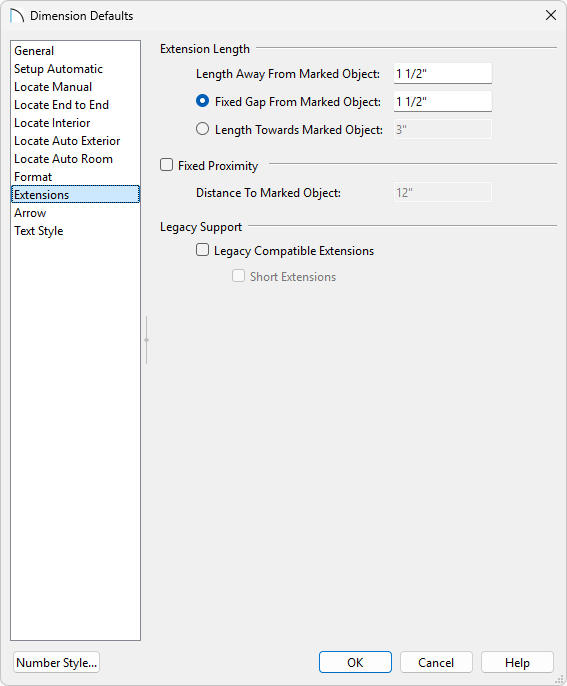
- On the Extensions panel you can control the length of extension lines.*
*Not available in legacy Home Designer Suite and Home Designer Architectural.
To learn more about these options, click the Help button to open your program's documentation.
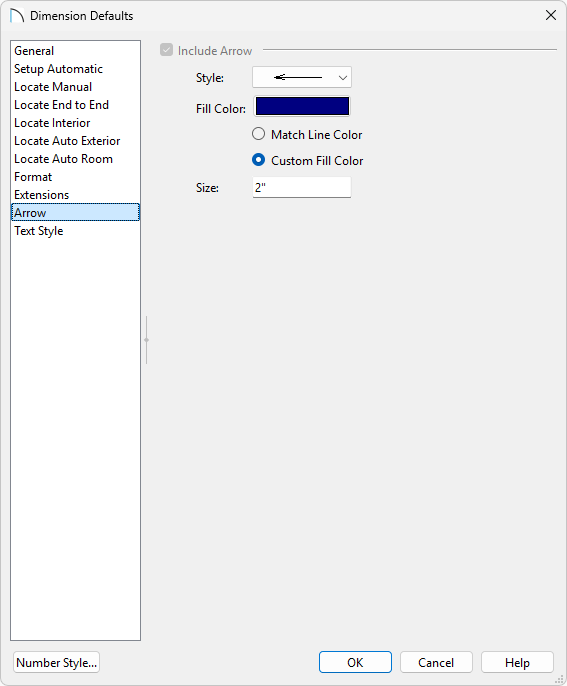
- The Arrow panel contains settings that control the size and style of dimension line arrows.
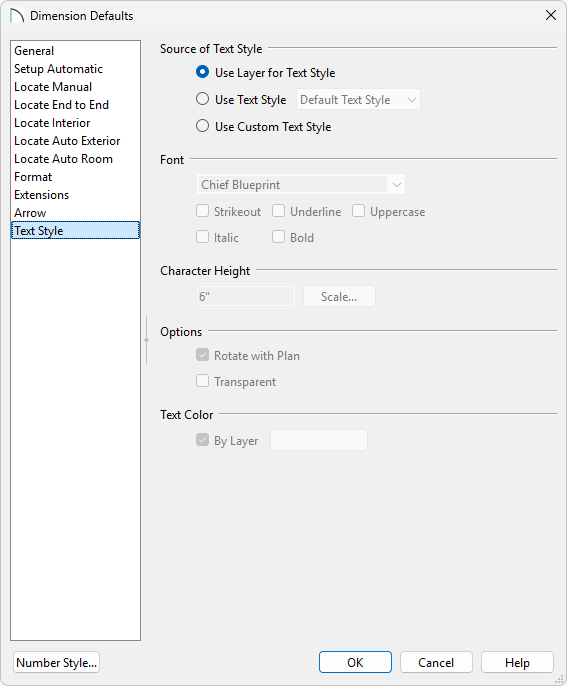
- On the Text Style panel, adjust the way the dimension text displays, such as the size, color, and font.
- Once all of your desired changes have been made, click OK, then Done to close the dialog boxes.