Removing Moldings from Floors, Rooms, and Walls
Pro | Architectural | Suite
QUESTION
Whenever I create a 3D view of the interior of my structure I see base molding. Why is this, and how do I get rid of the base molding from an entire floor, a specific room type, or just a single wall?
ANSWER
Base molding appears by default once a room is defined in Home Designer. There are multiple ways of modifying or removing moldings, including:
- Modifying or removing moldings from an entire floor
- Modifying or removing moldings from a specific room type
- Modifying or removing moldings from a room
- Modifying or removing moldings from a wall
To modify or remove a molding from an entire floor
- Click on Edit> Default Settings
 and expand both the Floors and Rooms and Floor Levels.
- Select the floor level you'd like to modify and click Edit.
- Navigate to the Moldings panel to make modifications to all the moldings on this floor.
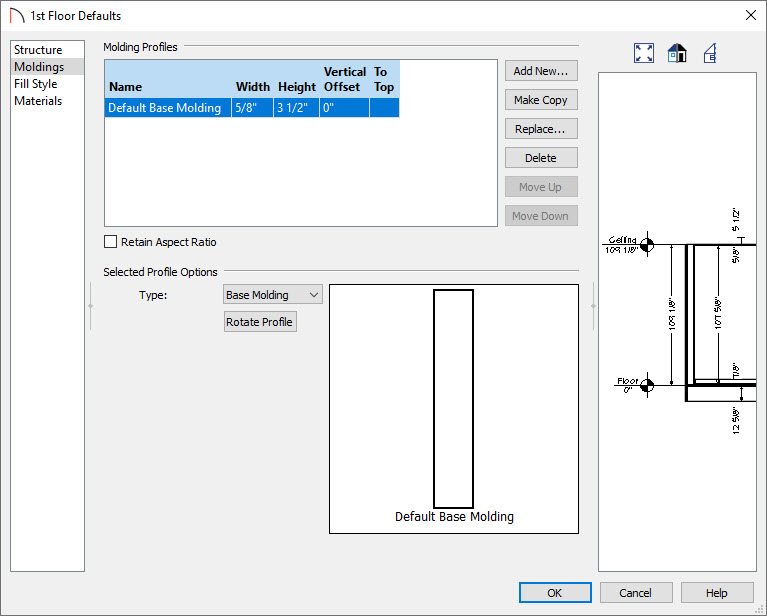
- Click the Add New button If you want to add additional moldings to the room.
- Click the Replace button If you want to change the existing selected molding to another molding.
- Click the Delete button if you want to remove the selected molding.
- Click the Add New button If you want to add additional moldings to the room.
To modify or remove a molding from a specific room type
- Click on Edit> Default Settings and expand Floors and Rooms.
- Select Room Types and click Edit.
- Choose the specific room type you'd like to modify and click Edit.
- In the Room Type Defaults dialog, uncheck Use Floor Defaults.

- Click the Add New button If you want to add additional moldings to the room.
- Click the Replace button If you want to change the existing selected molding to another molding.
- Click the Delete button if you want to remove the selected molding.
- If you want to restore the default base molding for this room type, simply check the Use Floor Defaults box.
- Click the Add New button If you want to add additional moldings to the room.
- Lastly, click the OK button to close out of this dialog window.
To modify or remove a molding from a room
- Using the Select Objects
 tool, click inside of the room to select it, then select the Open Object
  edit tool.
Multiple rooms can be selected by holding down the Control key on Windows or Command key on Mac while using the Select Objects tool.
If another object in the room initially selects, use the Select Next Object edit tool, or press the Tab key on your keyboard, to select the next object until the Status Bar indicates that you have the Room highlighted.
- In the Room Specification dialog, select the Moldings panel and uncheck Use Floor Defaults.
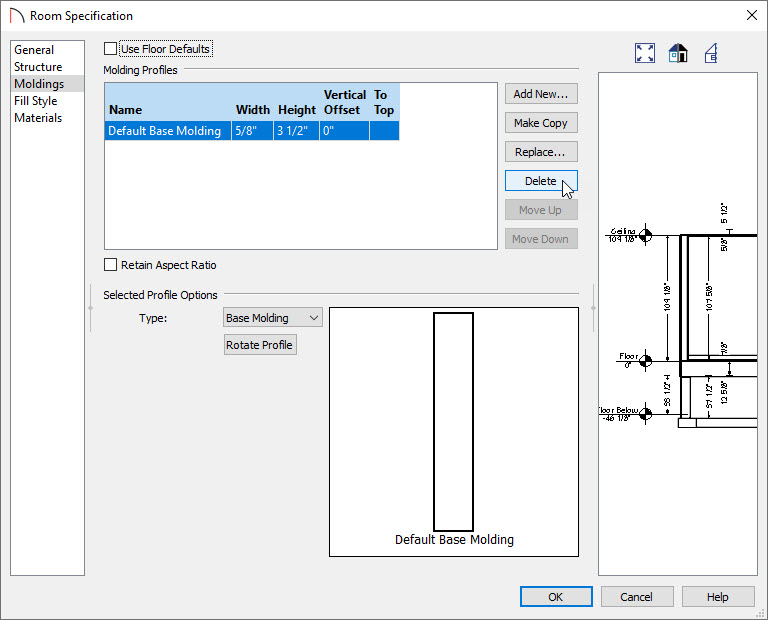
- Click the Add New button If you want to add additional moldings to the room.
- Click the Replace button If you want to change the existing selected molding to another molding.
- Click the Delete button if you want to remove the selected molding.
- If you want to restore the default base molding in this room, simply check the Use Floor Defaults box.
- Click the Add New button If you want to add additional moldings to the room.
- Lastly, click OK to confirm the change.
To modify or remove the moldings from a wall
- Using the Select Objects tool, click on a wall to select it, then select the Open Object edit tool.
- On the General panel of the Wall Specification dialog, select No Room Moldings Exterior and/or No Room Moldings Interior, depending on if you want the moldings off on the exterior side of the wall or the interior side.
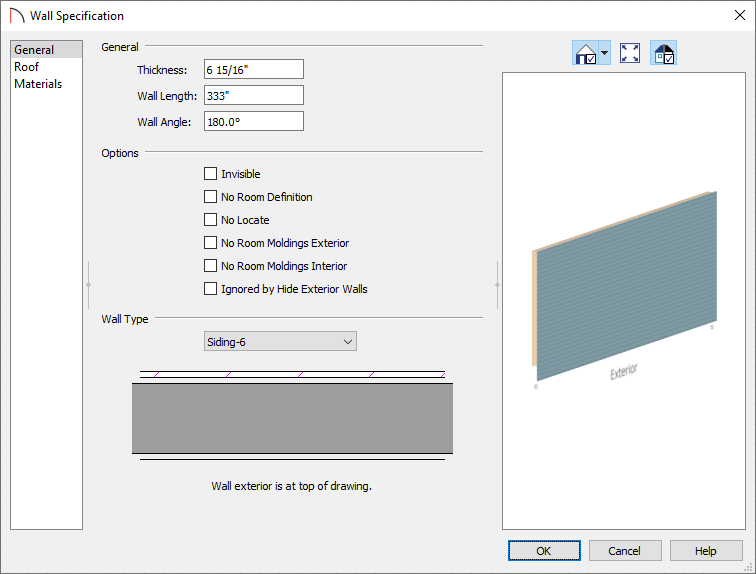
- Click OK to confirm the change.
Moldings can also be removed from walls that have objects touching them. To remove a molding between a wall and an object, open the object in question up to specification, such as a cabinet, then check the Suppress Adjacent Room Moldings box located on the General panel.