Assigning Room Moldings
Reference Number:
KB-00577
Last Modified:
August 12, 2021
This article also applies to the following legacy products:
Pro | Architectural | Suite
Pro | Architectural | Suite
QUESTION
I would like to display moldings in the rooms in my plan. How can I do this?

ANSWER
Crown molding, chair rail, and base molding can easily be generated and displayed in any room.
Note: The style of molding profiles initially used depends on which template plan that you selected in the Create New Plan dialog when you first started the plan.
Assigning moldings to an entire floor
-
Click on Edit> Default Settings
 to open the Default Settings dialog.
-
Expand the Floors and Rooms category, expand the Floor Levels sub-category, select the floor level you want to modify, then click Edit.
- On the Moldings panel of the Floor Defaults dialog that displays:
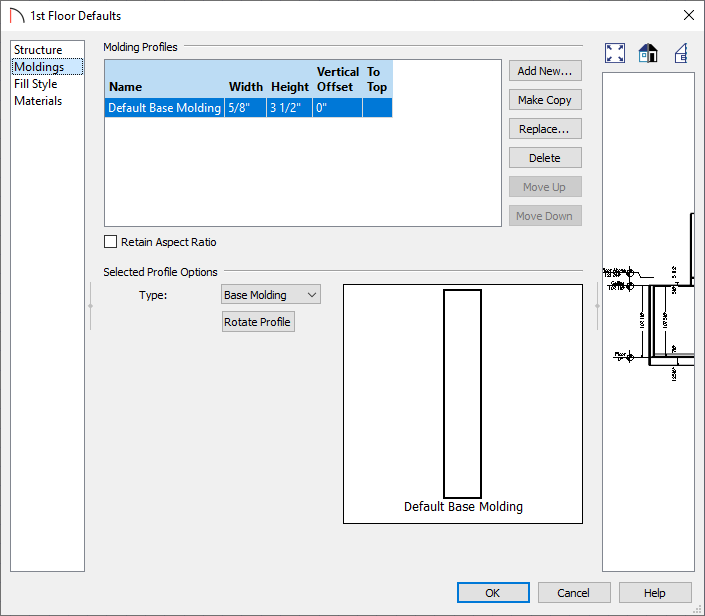
- Any existing molding profiles can be selected and edited to your liking.
- Adjust the Width, Height, Vertical Offset, and To Top setting, as necessary.
- Click the Replace button while an existing profile is selected to replace it with a new one, click the Delete button to remove an existing molding, or click the Add New button to add an additional molding profile.
- With a molding profile selected, click the Move Up or Move Down buttons to reorder the profiles in case you wanted to make a stacked molding.
- Use the Rotate Profile button to rotate the molding profile.
- Any existing molding profiles can be selected and edited to your liking.
- Once all of your desired changes have been made, click OK and Done to close out of all the dialogs.
Note: You can also customize the moldings by room type by editing the Room Types category in Default Settings> Floors and Rooms and choosing the room type you want to change.
Assigning moldings to a single room
-
Using the Select Objects
 tool, click in a room to select it, then click the Open Object
  edit button.
- On the Moldings panel of the Room Specification dialog that displays:
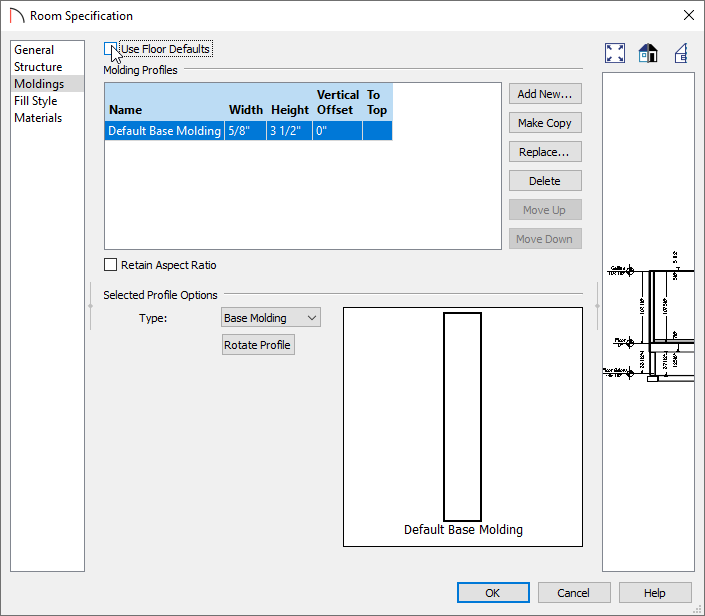
- Remove the check next to the Use Floor Defaults box to allow for editing.
Note: The molding profiles that are assigned to each floor level can be modified in the Default Settings. Navigate to Edit> Default Settings, expand the Floors and Rooms category, expand Floor Levels, then edit each floor level to your liking. Specific Room Types can also be assigned certain molding profiles within the Default Settings.
- Any existing molding profiles can be selected and edited to your liking.
- Adjust the Width, Height, Vertical Offset, and To Top setting, as necessary.
- Click the Replace button while an existing profile is selected to replace it with a new one, click the Delete button to remove an existing molding from the room, or click the Add New button to add an additional molding profile.
- With a molding profile selected, click the Move Up or Move Down buttons to reorder the profiles in case you wanted to make a stacked molding.
- Use the Rotate Profile button to rotate the molding profile.
- Remove the check next to the Use Floor Defaults box to allow for editing.
- Once all of your desired changes have been made, click OK.
Related Articles