Controlling the Information that's Displayed in a Materials List in Home Designer
Pro | Architectural | Suite
QUESTION
When I create a Materials List, a complete list of all the materials and objects in my plan file is created. How do I control what information is included in this list?
ANSWER
The Materials List Defaults dialog allows you to control the categories and columns that are included in a Materials List before it's created, as well as change the structural member reporting method used for framing members. In Home Designer Pro 2023 and prior versions, access the Preferences dialog to make these adjustments instead. In Home Designer Suite 2023, Home Designer Architectural 2023, and prior versions, Materials List preferences are not available.
If you have already created a Materials List, you can control information included in a Materials List using the Materials List Specification dialog. In Home Designer Pro, you can also use the Structural Member Reporting Control drop-down in an existing Materials List to change the structural member reporting method.
To set up Materials List Defaults/Preferences
- In your desired plan, navigate to Edit> Default Settings
 , select the Materials List option, then click Edit to adjust settings for future Materials Lists that are created.
In Home Designer Pro 2023 and prior versions, navigate to Edit> Preferences from the menu on a Windows PC or Chief Architect> Preferences on a Mac instead. Materials List preferences are not available In Home Designer Suite 2023, Home Designer Architectural 2023, and prior versions.
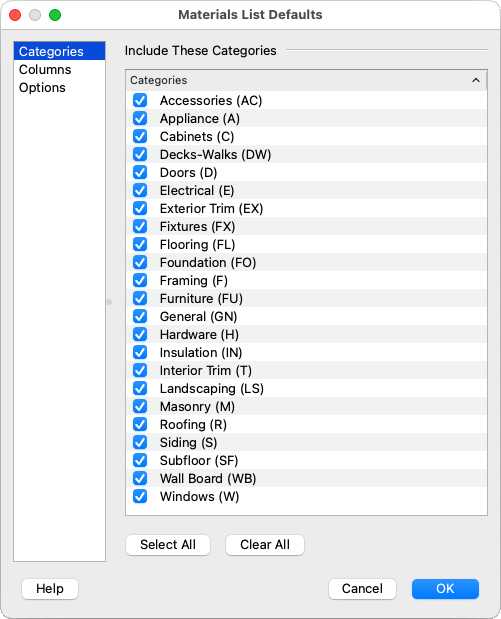
- On the Categories panel of the Materials List Defaults dialog, check the box beside each category you want to include.
In Home Designer Pro 2023 and prior versions, access the Materials List panel of the Preferences dialog that opens instead.
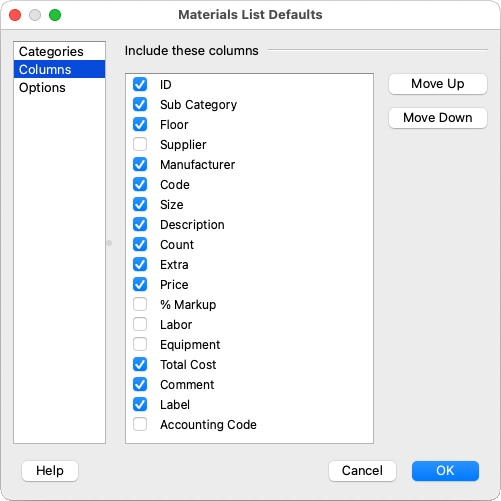
- On the Columns panel, check the box beside each column you want to include. Click the Move Up and/or Move Down buttons to reorder the columns.
In Home Designer Pro 2023 and prior versions, access the Report Style panel instead.
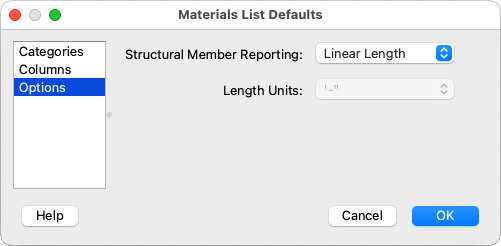
- On the Options panel, specify the Structural Member Reporting method and, if applicable, the Length Units.
In Home Designer Pro, additional options can be specified on the Options panel. To learn more about these options, click on the Help button at the bottom of the dialog.
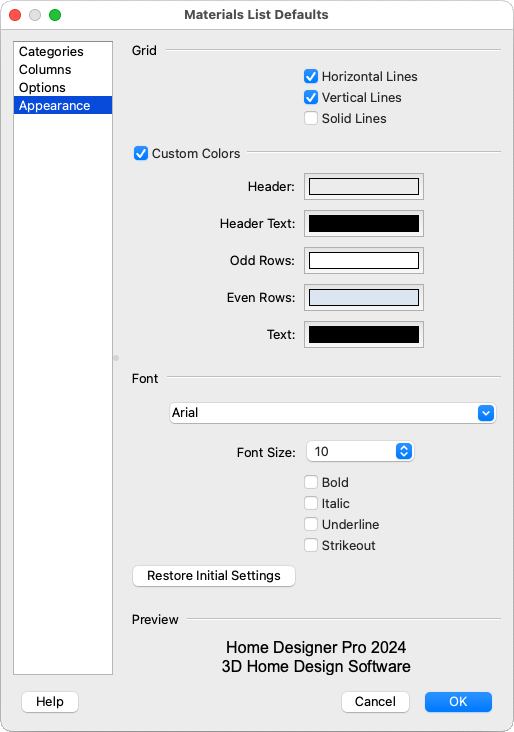
- In Home Designer Pro, an Appearance panel is also available, in which you can adjust Grid, Color, and Font properties.
In Home Designer Pro 2023 and prior versions, access the Report Style panel instead.
- Click OK and/or Done to close the dialogs.
To use the Materials List Specification dialog
- In order to generate a Materials List, your plan should include at least one architectural object.
- Select Tools> Materials List> Calculate Materials for All Floors
 from the menu to generate a Materials List for the entire plan.
Note: There are additional tools to create Materials Lists of more specific areas of your plan. If you want to learn more, see Video 2293: Materials Lists.
- With the Materials List as the active view, select Tools> Materials List> Materials List Specification
 to adjust settings for the current Materials List.
In Home Designer Suite 2022 and Home Designer Architectural 2022, navigate to Tools> Materials List Specification.
In Home Designer 2021 and prior versions, navigate to Tools> Materials List Display Options.
- On the Categories panel, check the box beside each category you want to include.
- On the Columns panel, check the box beside each column you want to include. Click the Move Up and/or Move Down buttons to reorder the columns.
The Columns panel is not available in Home Designer Suite 2021, Home Designer Architectural 2021, and prior versions.
- In Home Designer Pro, an Options panel is also available, in which you can specify the Structural Member Reporting method as well as what floors and suppliers to include.
To specify the Structural Member Reporting method in Home Designer Suite 2023 and Home Designer Architectural 2023, navigate to Tools> Materials List> Structural Member Reporting instead.
The ability to specify the Structural Member Reporting method for Materials Lists that have already been created is not available in Home Designer Suite 2022, Home Designer Architectural 2022, and prior versions.
- In Home Designer Pro 2024 and newer versions, an Appearance panel is also available, in which you can adjust Grid, Color, and Font properties.
For more information on Structural Member Reporting, please see the "Creating a Framing Cut/Buy List" resource in the Related Articles section below.
- On the Categories panel, check the box beside each category you want to include.
To use the Structural Member Reporting Control drop-down in Home Designer Pro
With a Materials List as the active view, use the Structural Member Reporting Control drop-down menu located near the top left corner to choose your desired reporting method for framing members.

- Select Buy List to calculate the framing materials by counting individual pieces and matching them to items in the list of Buy List Board Sizes.
- Select Cut List to calculate framing materials by counting individual pieces present in the model.
- Select Linear Length to calculate framing materials in linear feet.
- Select Mixed Reporting to calculate framing materials using a combination of lineal lengths and piece counts