Creating an Indoor Swimming Pool
Pro | Architectural | Suite
QUESTION
I would like to create an indoor swimming pool. How can I accomplish this in Home Designer?

ANSWER
An indoor swimming pool is easy to accomplish in Home Designer by utilizing the Room Divider wall tool, along with various library objects.
To define the pool area
- Launch Home Designer and select File> New Plan
 .
.
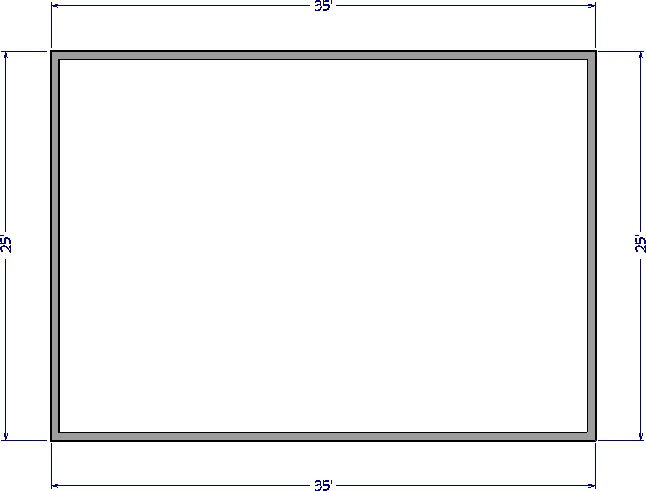
- Select Build> Wall> Straight Exterior Wall
 and draw an enclosed rectangular room, which will contain the pool.
In this example, a room approximately 35' x 25' is drawn.
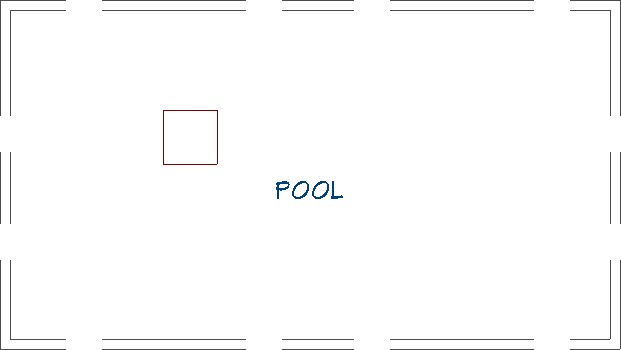
- Once the room is created, select Build> Wall> Room Divider
 , and create a rectangular room inside of the larger room. This newly created room will represent the pool.
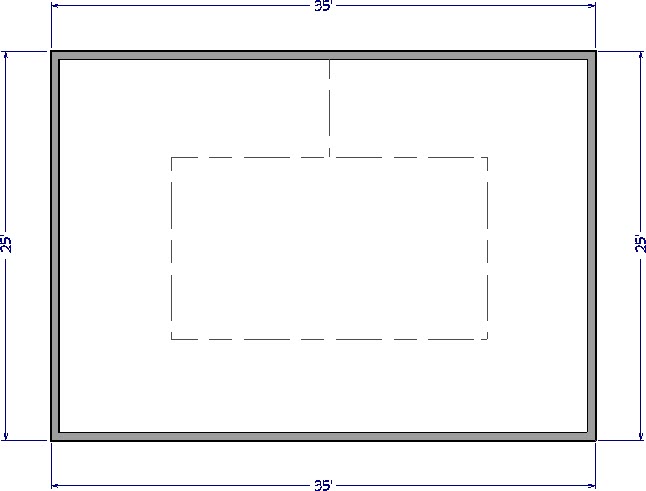
Note: Once your room is fully enclosed, another room divider is automatically generated by the program, connecting the interior "island" room with the exterior of the structure.
Now, let's precisely position the room divider walls.
To accurately position walls using Temporary Dimensions
- First, using the Select Objects
 tool, select one of the room divider walls.
Once highlighted, notice that temporary dimensions appear, displaying the distance between the selected wall and other adjacent walls.
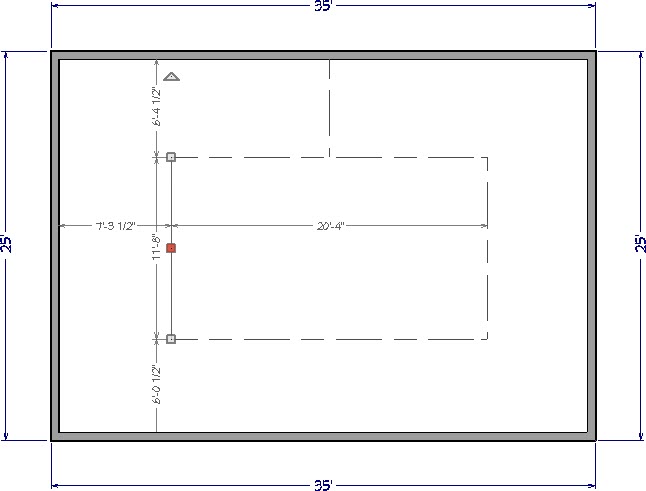
Note: If temporary dimensions don't display when you select a room divider wall, it's possible they are toggled off. Navigate to View> Temporary Dimensions from the menu to toggle them on.
- Move your mouse cursor over the temporary dimension value, and once it changes to a hand pointer, left-click once.
- Type in the precise value for the distance you want the invisible wall to be from the exterior wall, then press the Enter key on the keyboard.
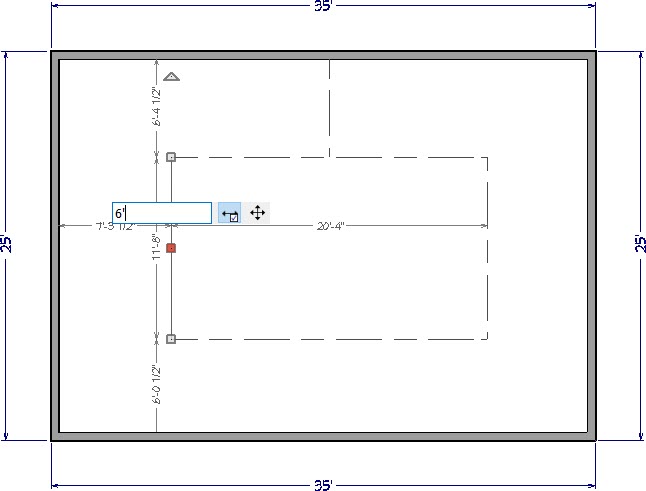
Please see the Related Articles section below for additional resources on moving walls and other objects using dimensions.
- Repeat this process clockwise for the remaining room divider walls.
Now that the room divider walls have been created and adjusted, we are ready to modify the room settings to better define the pool.
To modify the pool room
- Using the Select Objects tool, click inside of the center room representing the pool, then select the Open Object
 edit button.
The following steps can also be applied to the larger room the pool is contained in.
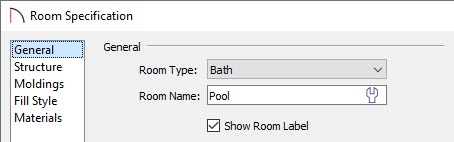
- On the General panel of the Room Specification dialog that displays, set the Room Type to Bath, and change the Room Name to Pool.
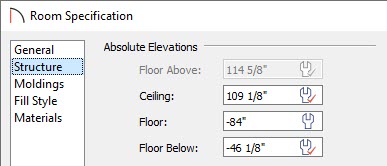
- On the Structure panel, set the Floor to a negative value to create a sunken area.
In this example, this value was set to -84".
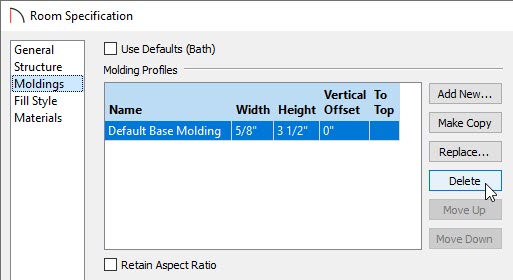
- On the Moldings panel, uncheck Use Default, then Delete any moldings that are applied.
- On the Materials panel, set up appropriate materials for the Floor Finish and Walls components, then click OK to close the dialog.
Now that the pool room is created, you are ready to add water to it.
To add water to the pool
- Within the Library Browser
 , navigate to Home Designer Core Catalogs> Shapes> Boxes.
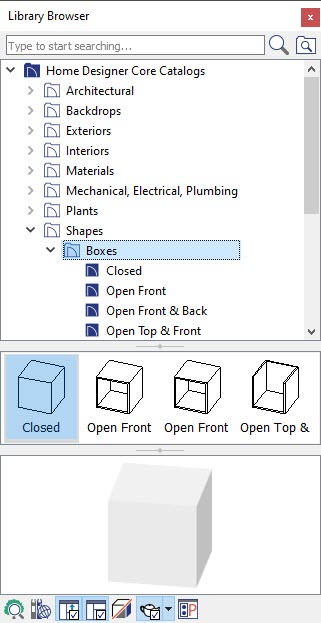
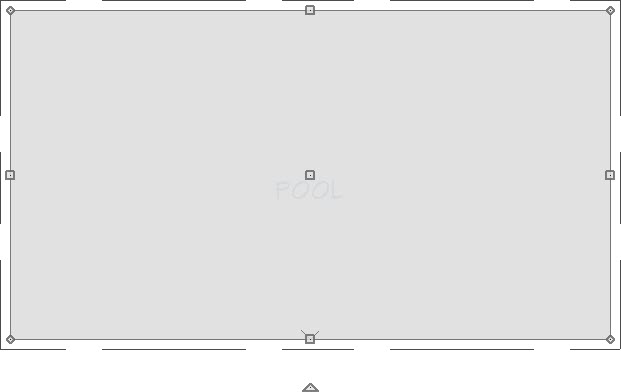
- Click on the Closed box to select it, then click in your floor plan to place it.
- Once placed in your floor plan, select the box and use the edit handles to resize it so that it extends throughout the entire pool area.
- With the box still selected, click on the Open Object edit button, and in the Geometric Shape Specification dialog that displays:
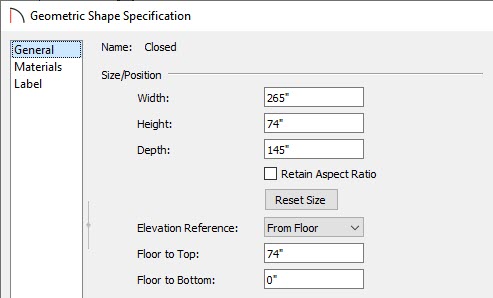
- On the General panel, set the desired Height of the box.
In this example, we set the Height to 74".
- On the Materials panel, select the Main color component, click the Select Material button, and browse the library for an appropriate water material.
In this example, we browsed to Home Designer Core Catalogs> Materials> Landscaping & Roadways> Water, and chose the Water1 material.
- Click OK and OK again to apply these changes and close the dialog.
- On the General panel, set the desired Height of the box.
- Take a Camera
 view to see the results.
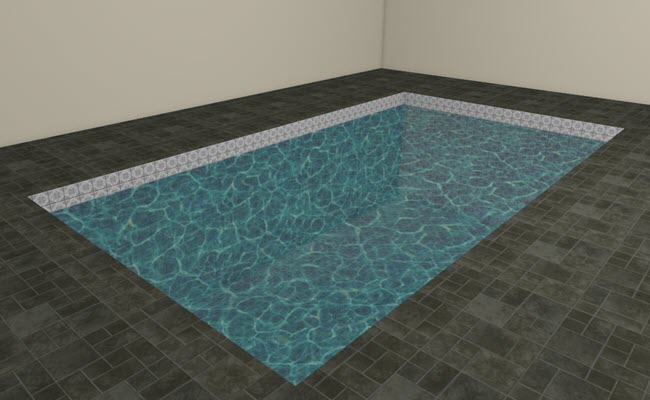
Pool coping and stairs can also be created using the geometric shapes.
We're now ready to customize the remaining pool area with other objects from the Library Browser
To accessorize the pool
- In the Library Browser , navigate to Home Designer Core Catalogs> Exteriors and browse the Outdoor Living and Recreation folders.
Note: Additional accessories can also be located in the Poolside and Sauna bonus catalog located in the 3D library.
- Select any desired objects from the library and click to place them in your plan.
You can now take the information we have learned here and apply it to other designs.