Moving Objects Without Restrictions
Pro | Architectural | Suite
QUESTION
There are a number of situations where I would like to move an object such as furniture, a decorative accessory, or a door or window to a new location but can't because other objects are in the way. How can I avoid this?
ANSWER
Many objects can be moved from one location to another without restrictions by holding down the Ctrl/Command key on your keyboard.
Two examples are discussed in this article:
- To move a free-standing object through other objects.
- To arrange accessories on shelves, furniture, or in cabinets.
To move a free-standing object through other objects
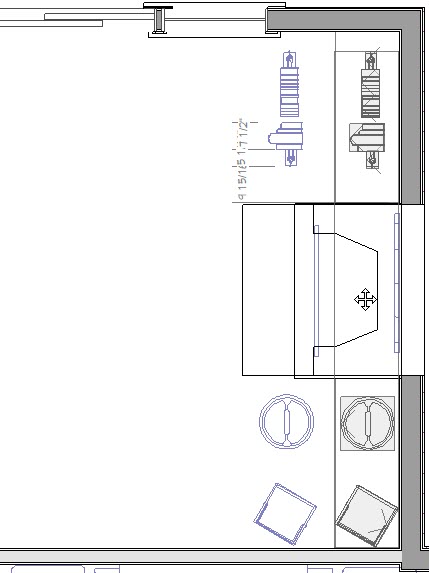
- Using the Select Objects
 tool, click once on an object such as a piece of furniture, a cabinet, or an appliance to select it.
In this example, a chair is selected, as demonstrated in the image below.
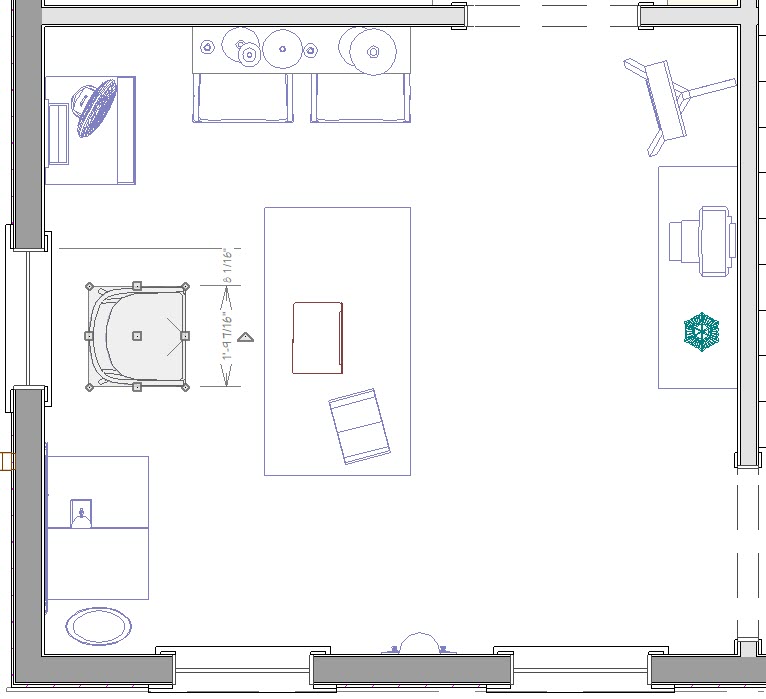
- With the object selected, hold down the Ctrl/Command key on your keyboard and place your cursor over the Move
 edit handle at the center of the selected object.
- Click and drag the object to a new location.
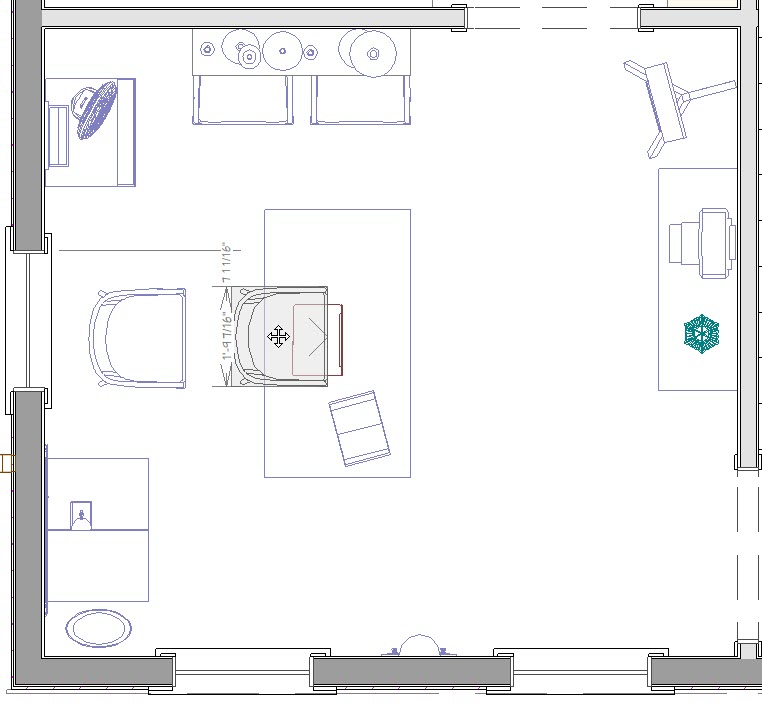
Notice that you are able to move furniture and cabinets in any direction, as well as through other objects.
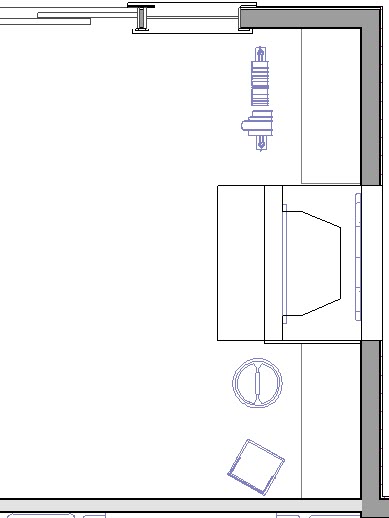
When moving objects to overlap each other, you are likely going to want to change the draw order of objects so they display correctly in your plan view. For more information on adjusting an objects draw order please see the Related Articles section below.
Additionally, you can hold the Shift key and select multiple objects to move them all at once. For more information selecting multiple objects please see the Related Articles section below.
To arrange accessories on shelves, furniture, or in cabinets
- Begin by placing some accessories in floor plan view. For now, choose an empty space near the cabinetry, shelves, or furniture where they will finally be arranged.
- Select 3D> Create Camera View> Elevation
 or Wall Elevation
  and click and drag towards your shelving to create an elevation view that shows your accessories and the furniture that they will be placed in.
In Home Designer Pro, instead go to 3D> Create Orthographic View> Wall Elevation and click and drag towards your shelving to create an elevation view that shows your accessories and the furniture that they will be placed in.
- Using the Select Objects tool, click once on one of your accessories to select it.
Additionally, you can hold the Shift key and select multiple objects to move them all at once. For more information selecting multiple objects please see the Related Articles section below.
- Hold down the Ctrl/Command key down on your keyboard and place your cursor over the Move edit handle at the center of the selected object.
- Click and drag to move the object to your desired location.
You may also find it helpful to adjust the object's height in the object's specification.
- Return to your floor plan view by going to File>Close View.
- Using the Select Objects tool, click on an object to select it.
You can also Shift + Select to select a group of objects.
- Hold down the Ctrl/Command key down on your keyboard and place your cursor over the Move edit handle at the center of the selected object.
- Click and drag the object into the same space as the cabinet, furniture, or shelves.