Using the Space Planning Tools
Reference Number:
KB-00349
Last Modified:
July 12, 2024
This article also applies to the following legacy products:
Pro | Architectural | Suite
Pro | Architectural | Suite
QUESTION
How do I use the Space Planning tools to quickly lay out a new floor plan?
ANSWER
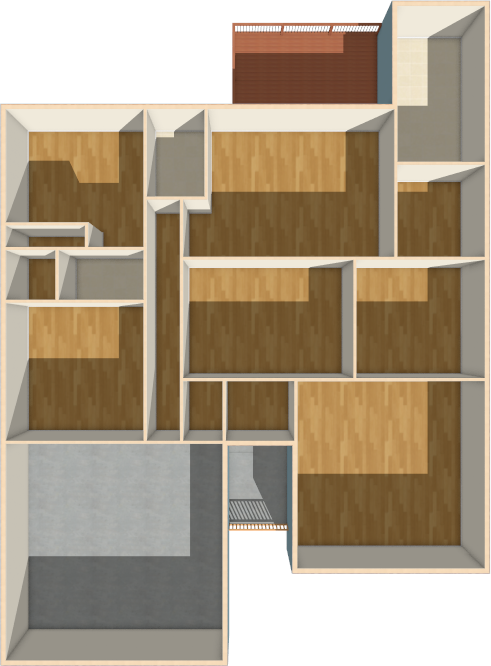
The Space Planning tools allow you to create a basic floor plan by creating and arranging 2D room boxes. Once the boxes are laid out and are sized to your liking, they can be converted to walls and rooms that can be edited and detailed to completion.
To use the Space Planning tools
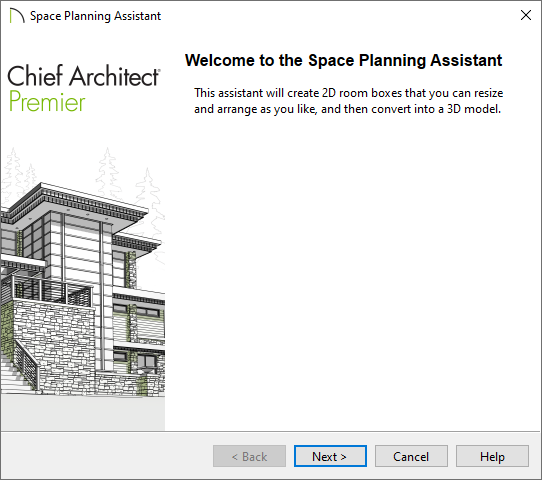
- Start by navigating to Tools> Space Planning> Space Planning
 to open the Space Planning Assistant.
- The Assistant will prompt you to enter the number of floors you want, the garage properties, as well the type of rooms you would like for each floor level.
Note: Each bedroom defined in the Space Planning Assistant will also produce a closet.
- After selecting Finish in the Assistant, individual room boxes will appear on each floor level based upon the properties you have specified.
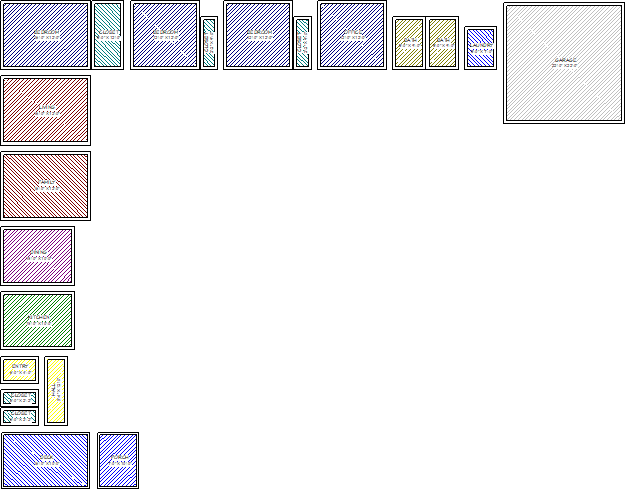
- If additional room boxes need to be added, select Tools> Space Planning
 from the menu, select the room type you would like to add, then click in the plan to place it.
To delete a room box, select it using the Select Objects tool, then click the Delete
  edit button or press the Delete key on the keyboard.
Similar to other objects in Chief Architect, room boxes can be selected and opened to specification. Several attributes, such as the Room Name, Function, Line Style, and Fill Style can be adjusted to your liking.
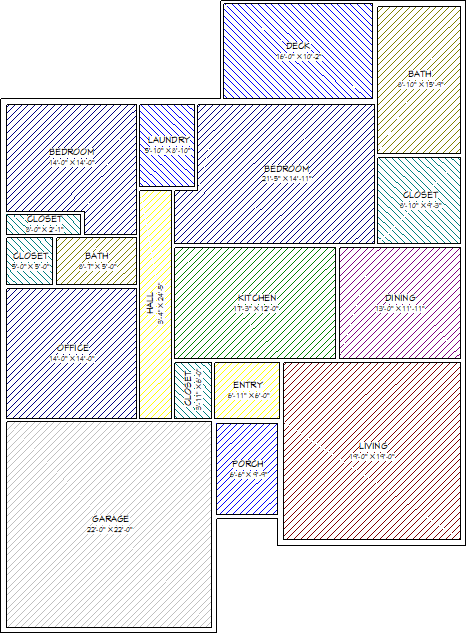
- Once all of the room boxes you need for your design are in the plan, they can be moved and resized to your liking.
- To move a room box, select it using the Select Objects tool, then use the square Move
 edit handle that displays in the middle to move it to the desired location.
- To resize a room box, click on one of the side edit handles and drag it to enlarge or reduce the size. Corner diamond edit handles can also be used to change the shape.
- Use the Add Break*
 edit tool to place a break point along an edge of a box, allowing you to create room boxes with more than four edges.
- Use the Remove Overlapped Areas*
 edit tool to remove all areas from the selected room box(es) that are overlapped by adjacent boxes. The edges are not drawn differently as a result, but any overlap conditions are removed, additional edit handles may become available, and the selected box typically gains new edges as its shape is modified.
- Use the Overlap Adjacent Room Box*
 edit tool to reverse an instance where the selected room box is overlapped by an adjacent box, making it overlap the other box instead. Once this tool is activated, click on the adjacent room box that currently overlaps the selected box. The box edges are redrawn to reflect this change, but neither box's shape actually changes and no additional edit handles become available.
*Applies to Chief Architect X16, Home Designer 2025, and newer versions.
- To move a room box, select it using the Select Objects
- After the rooms are positioned and correctly sized, select Tools> Space Planning> Build House
 on each floor level. The room boxes will be converted into walls and rooms. If Auto Rebuild Roofs is enabled, automatic roof planes will also generate.
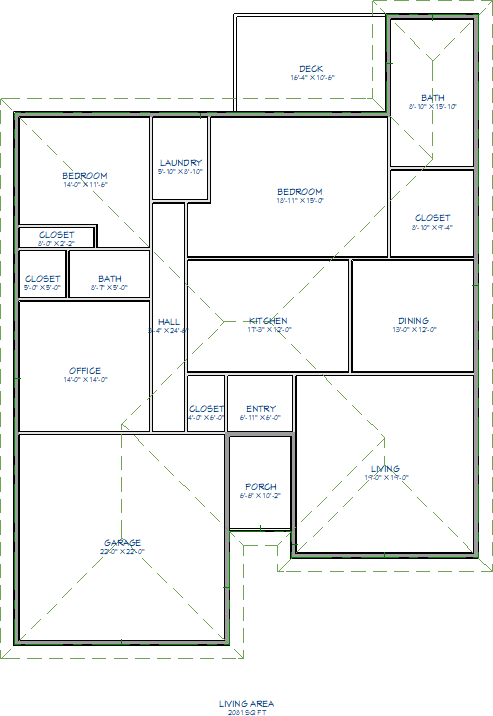
- Select 3D> Create Perspective View> Perspective Floor Overview
 to see the results.
- Additional modifications can now be made. You can also add additional room boxes at anytime, then repeat Step 6.
MORE INFORMATION
- Room boxes and their labels are located on the "Space Planning Boxes" layer. Room box labels use the text style assigned to that layer, as well.
- Room box edges are converted into walls using the wall types set in the various wall and railing defaults.
- Each room box is surrounded by lines that indicate the extents of the walls that will define it once the conversion takes place. This delineation is only present in Chief Architect X16, Home Designer 2025, and newer versions.
- The Space Planning tools are supported on Floor 1 and all floor levels above it, but not on Floor 0. If you would like to use room boxes on upper floor levels, it is important that you make sure the room boxes, or more importantly, the walls they will eventually create, are properly aligned between floors. Please view your program's Help documentation to learn more.
- Use the Space Planning Toolbar Configuration*
 to efficiently design using the Space Planning tools. Please view the "Customizing Toolbars" resource in the Related Articles section to learn more.
*Applies to Chief Architect Premier, Chief Architect Interiors, and Home Designer Pro.
Related Articles