Creating Custom Accent Tiles
Pro | Architectural
QUESTION
I want to create a tile accent backsplash but none of the tile patterns in the library fit my needs. How can I create my own?

ANSWER
Most tile configurations can be modeled using materials in the program applied to surfaces such as walls, floors and ceilings. However, sometimes there may be a situation where you want to have one special accent tile, or model an area with custom tile configuration tile-by-tile, such as in a kitchen or bathroom. This is easy to accomplish using the Custom Backsplash tool as you create a backsplash for your accent tile, or you can draw the exact shape of each individual tile and piece them together.
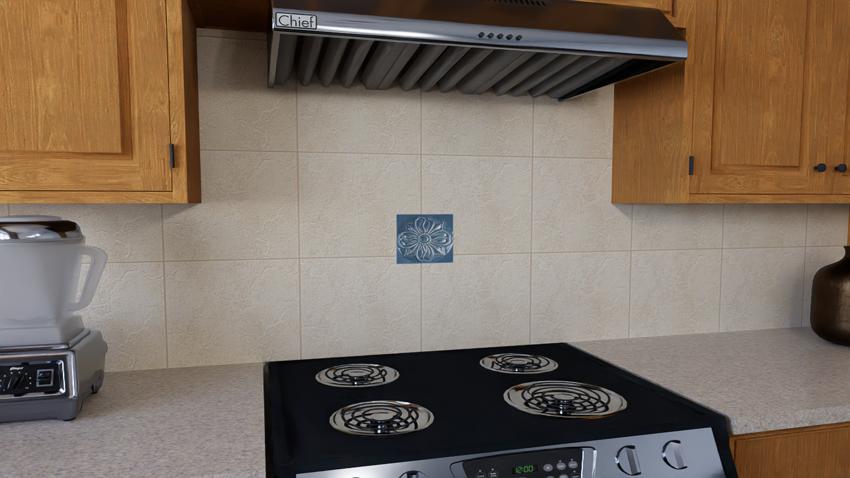
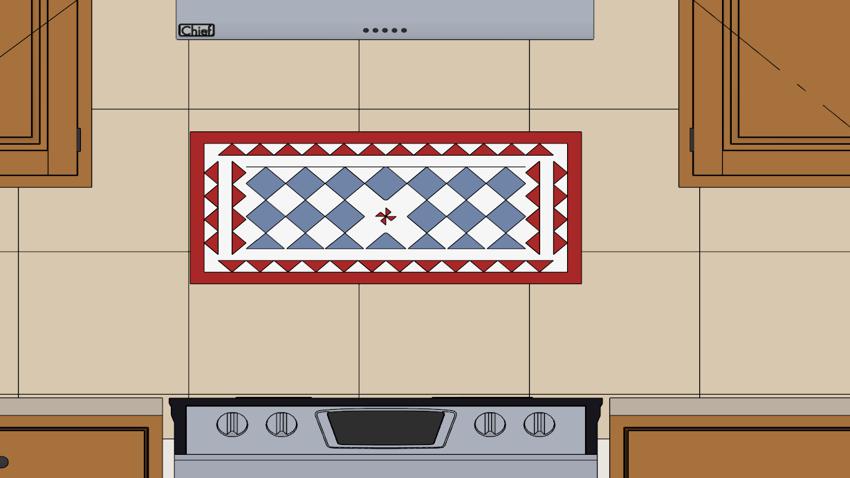
In this article, you will learn how to create an accent tile material and apply it to a custom backsplash, as well as how to draw custom backsplashes, resize them, change their materials, and precisely position them to create a custom tile configuration, as demonstrated in the image above.
This article will cover the following topics:
- Creating a custom material for a single accent tile and applying it to a custom backsplash
- Creating a precise custom tile configuration using the custom backsplash tool
Creating a custom material for a single accent tile and applying it to a custom backsplash
- Open your Library Browser
 , if not already open, by going to View> Library Browser .
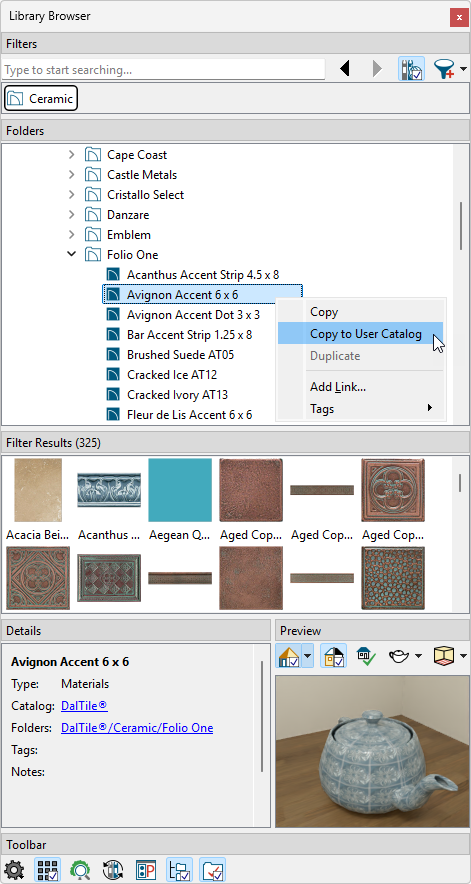
- In your Library Browser , find a tile that you'd like to use as a singular accent tile.
A good selection can be found in the DalTile® manufacturer catalog. For this example, the Avignon Accent 6 x 6 tile is used, which can be found by going to Manufacturer Catalogs> DalTile> Ceramic> Folio One.
For more information on obtaining additional catalogs, such as DalTile, please see the Related Articles section below.
Additionally, if you have an image of the accent tile you'd like to use you are able to create your own custom material. Please see the Related Articles section below.
- Once you've found the tile you'd like to use in the Library Browser , right-click on the name of the material and choose Copy to User Catalog. This will create a copy of the material and place it into your User Catalog.
Note: On a Mac, hold down the Control key while clicking to initiate a right-click command. More information about right-click commands on Apple input devices can be found in the following Apple resource: Right-click on Mac.
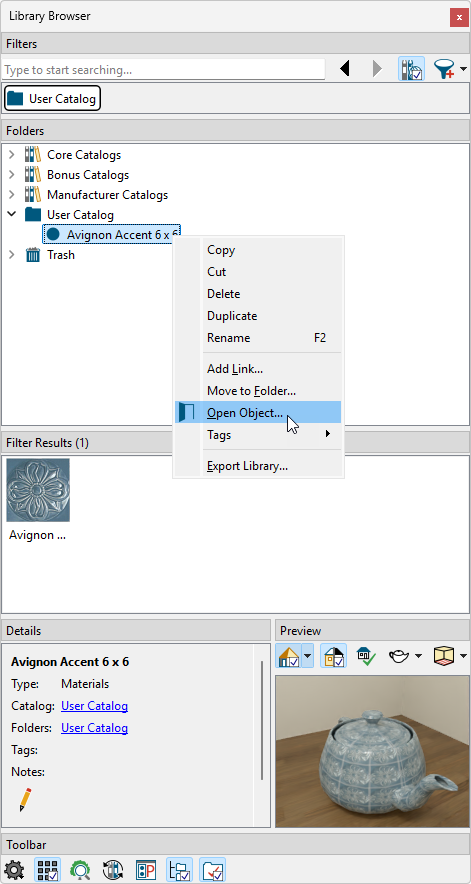
- Right-click on the material inside of your User Catalog and click Open Object
 to open the Define Material dialog.
- In the Define Material dialog:
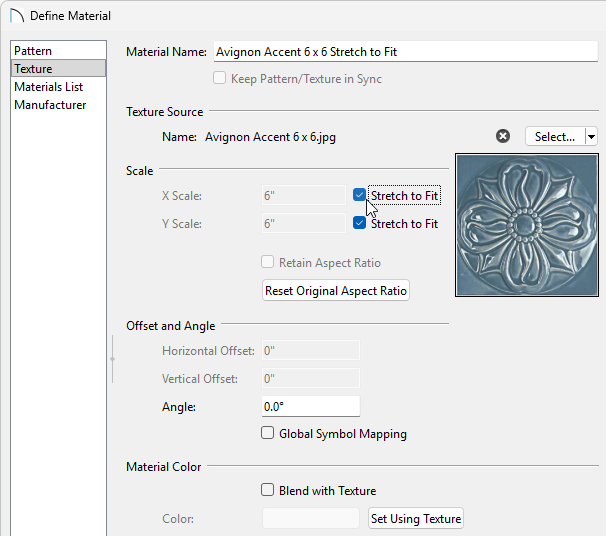
- Change the Material Name to your liking.
For this example we will add the words Stretch to Fit to the end of the tile name.
- Navigate to the Texture panel and for both the X Scale and Y Scale choose Stretch to Fit.
You now have a material that will fill the size of the tile you create using the Custom Backsplash tool.
- Make any other changes you find necessary and click OK.
- Change the Material Name to your liking.
- Use the Wall Elevation
 tool to create an elevation view of your kitchen. This can be accessed by going to 3D> Create Orthographic View> Wall Elevation and clicking and dragging from an area in your kitchen to the wall you'd like to apply the accent tile.
In Home Designer Architectural, navigate to 3D> Create Camera View> Wall Elevation instead.
- With your wall rlevation view now open, navigate to Build> Cabinet> Custom Backsplash
 to select the custom backsplash tool.
- With the Custom Backsplash tool active:
- Click and drag on your wall to create a square backsplash.
- Use the Temporary Dimensions to resize your backsplash to the size you'd like your tile to be. In this example we will make the backsplash 6" x 6".
Temporary Dimensions can be enabled/disable by going to View> Temporary Dimensions.
- Click and drag on your wall to create a square backsplash.
- Using the Select Objects
 tool, select your custom backsplash and use the Open Object edit tool to open the Custom Backsplash Specification.
- In the Custom Backsplash Specification:
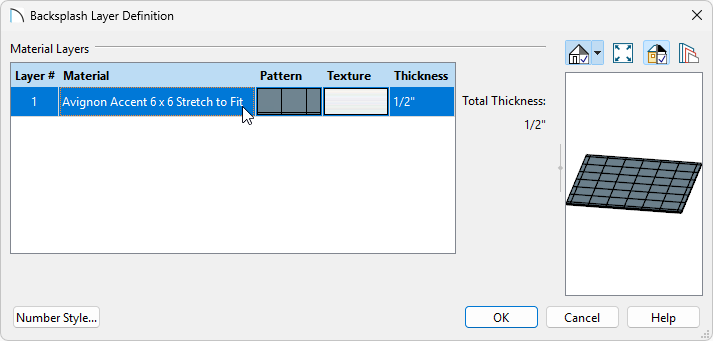
- On the Structure panel, click Edit to edit your Material Layers.
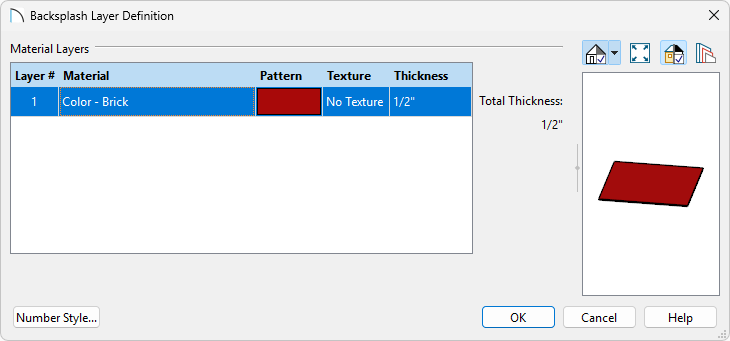
- In the Backsplash Layer Definition, click on the current Material to open the Select Material dialog.
- In the Select Material dialog, navigate to your User Catalog to find and select your custom material.
- Click OK until each dialog is closed to apply your change.
- On the Structure panel, click Edit to edit your Material Layers.
- Create a Camera
 view to see your results.
If you're unable to find a tile for your liking, or if you need to create a specific pattern piece-by-piece, you can instead create the backsplash manually by creating the individual pieces and placing them together.
Creating a precise custom tile configuration by modeling individual tiles
- Use the Wall Elevation tool to create an elevation view of your kitchen. This can be accessed by going to 3D> Create Orthographic View> Wall Elevation and clicking and dragging from an area in your kitchen to the wall you'd like to apply the accent tile.
In Home Designer Architectural, navigate to 3D> Create Camera View> Wall Elevation instead.
- With your wall elevation view now open, navigate to Build> Cabinet> Custom Backsplash to select the custom backsplash tool, and click and drag on your wall to create a square backsplash.
- Reshape your backsplash into the shape of one of the individual tiles.
- You can use the Add Break
 edit tool to create breaks along the edge and reshape your backsplash into custom shapes.
- You can use the Change Line/Arc
 edit tool if you one of your tiles needs to have a curved edge.
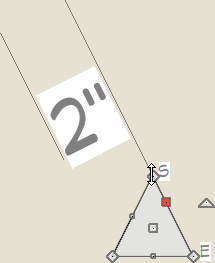
- Use the Temporary Dimensions
 to resize your backsplash to the size you'd like your tile to be.
Temporary Dimensions can be enabled/disable by going to View> Temporary Dimensions.
- You can use the Add Break
- Once it is shaped to your liking, use the Select Objects tool, select your custom backsplash and use the Open Object edit tool to open the Custom Backsplash Specification.
- In the Custom Backsplash Specification:
- On the Structure panel, click Edit to edit your Material Layers.
- In the Backsplash Layer Definition, click on the current Material to open the Select Material dialog.
- In the Select Material dialog, navigate to the material you'd like to use, select it, and click OK.
A solid color will work best for this application. Colors can be found by going to Core Catalogs> Materials> Colors.
- Click OK until each dialog is closed to apply your change.
- On the Structure panel, click Edit to edit your Material Layers.
- Continue creating backsplashes to create a tile, piece-by-piece, until you have the design you want to use.
To make this process easier you can utilize various edit tools such as Transform/Replicate Object* , Copy/Paste
  , Center Object
  , Reflect About Object*
  , and Point to Point Move*
  .
.
*Not available in Home Designer Architectural.
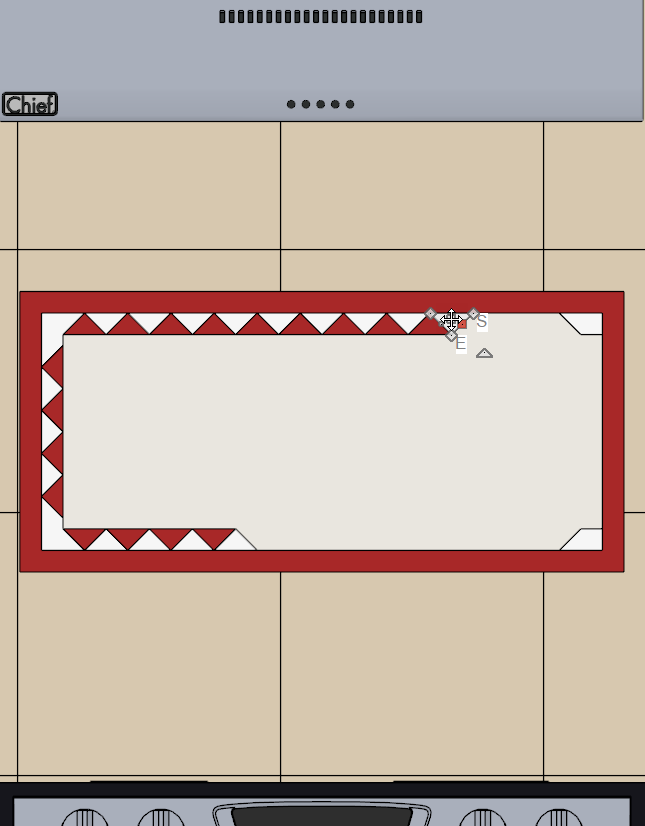
The image below is the finished result of the custom tile configuration.
- Once you have finished creating your custom tile, you will want to block it together and add it to your library. To create an architectural block, hold Shift on your keyboard while selecting each tile to select multiple at once, then use the Make Architectural Block
 edit tool to block them together.
For more information on group selecting objects, please see the Related Articles section.
- With the architectural block selected, use the Add to Library
 edit tool to add the backsplash to your User Catalog.