Creating Glass Walls
Reference Number:
KB-02263
Last Modified:
July 21, 2021
The information in this article applies to:

QUESTION
I would like to place glass walls in my plan. How can I do this in Home Designer?
ANSWER
Home Designer comes with several glass wall tools that help you quickly draw glass walls in your plan.
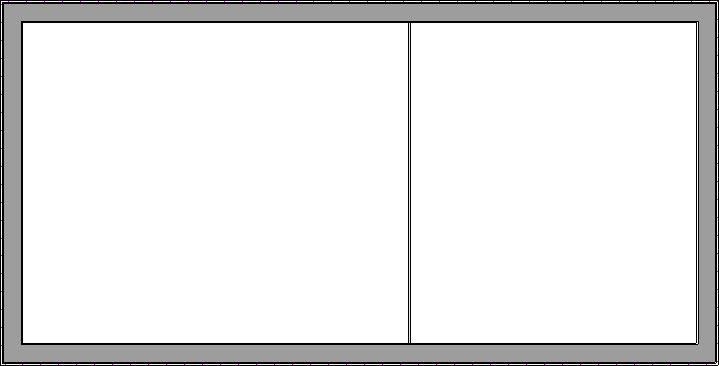
Using the Glass Wall tool
- In your plan, select Build> Wall> Straight Glass Wall
 .
.
- Once you have selected the tool, click and drag in the plan to create a full height glass wall.
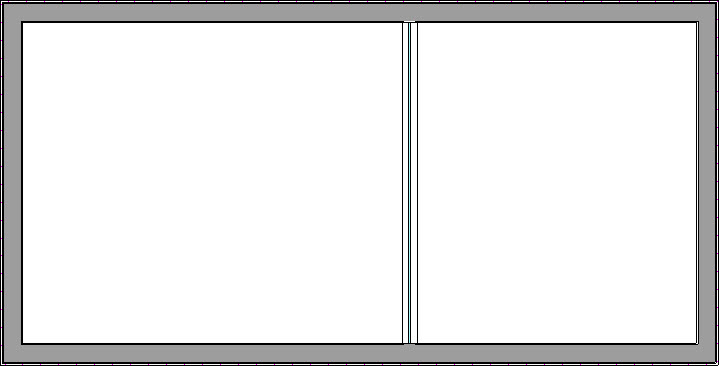
Using the Glass Pony Wall tool*
*Available in Home Designer Architectural and Home Designer Pro Only
- In your plan, select Build> Wall> Straight Glass Pony Wall
 .
.
- Once you have selected the tool, click and drag in your plan to create a pony wall with a lower interior wall with tile on one side and an upper glass wall.
- Select the wall on your plan and click on the Open Object
 edit tool to open this wall for specification. Here, you can make changes to the wall height, the elevation of the lower wall top, and the wall types that are in use.
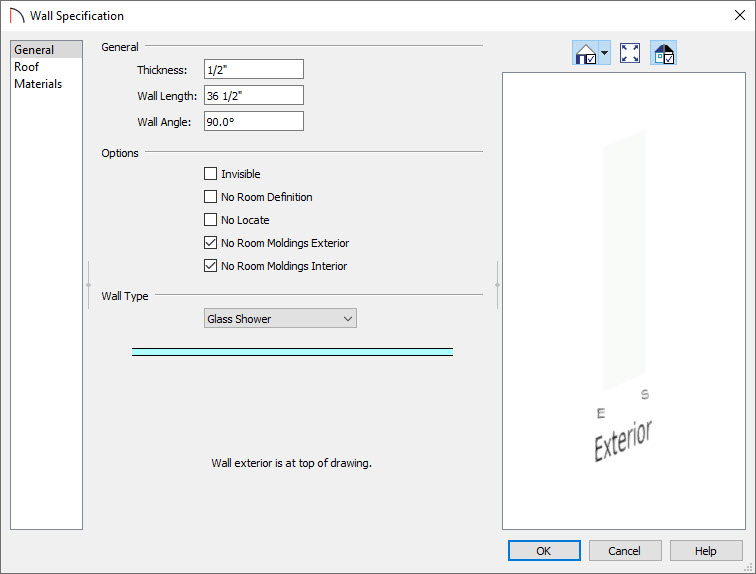
Converting an existing wall to be a Glass Wall
- Select the wall on your plan that you want to change to a glass wall and click on the Open Object edit tool.
- On the General panel of the Wall Specification dialog that displays, use the Wall Type drop-down to change the wall to either the Glass Shower or Glass Block wall type.
In Home Designer Architectural and Home Designer Professional the Wall Type drop-down is located on the Wall Types panel.
Related Articles