Creating a Circular Room with Walls
Reference Number:
KB-00135
Last Modified:
July 21, 2021
The information in this article applies to:

QUESTION
How do I create a room in Home Designer that is a partial or complete circle?
ANSWER
Place a curved wall using one of the Curved Wall tools, then adjust the radius to your liking. Once the curvature of the wall is established, attach straight wall segments to form a room that is a partial circle.
A completely circular room can also be modeled, but the process requires two curved wall segments rather than one.
To create a circular room
-
Open
 the plan in which you would like to create a circular room or select File> New Plan
  to open a new, blank plan.
- Select Build> Wall
 from the menu and then select the desired curved wall you want to use.
In this example, we have selected the Curved Exterior Wall tool.
tool.
- With the tool selected, click and drag to create a curved wall segment.
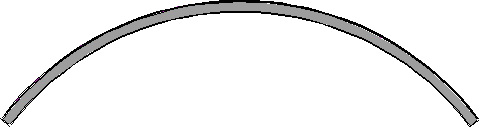
- Using the Select Objects
 tool, click on the wall segment to select it and use the triangular edit handle that displays along the arc to adjust the amount of curvature as needed.
Note: In Home Designer Pro, you can also open the curved wall to specification and adjust the Radius value on the General panel of the Wall Specification dialog.
- You can now enclose the room using straight wall segments, or skip to the next step if you would like to create a complete circle.
- If you want to create a complete circle using curved walls, ensure that the wall is still selected, click on the Add Break
 edit button, then click once along the curved wall to place a break point at that location. The wall will now consist of two separate segments, and one of the segments will be selected.
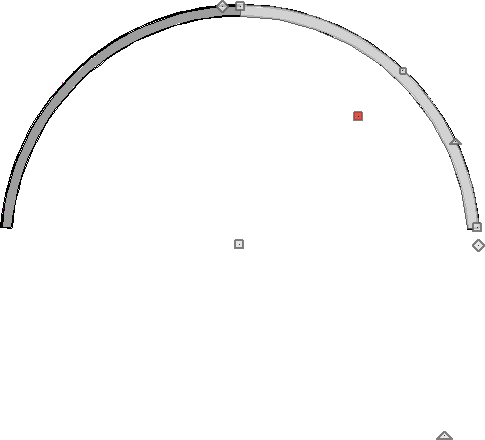
Do not place the wall break at a location where you will be placing a window, door or fireplace; other than that consideration, exact placement of the wall break is not important.
- Place your cursor over the end edit handle and drag the handle to extend the curved wall segment until it joins with the end of the other segment. When you release the mouse button, the two wall segments will form a closed circle.
If you have trouble connecting the two segments together, consider temporarily disabling Angle Snaps by navigating to Edit> Snap Settings> Angle Snaps from the menu. Be sure to toggle them back on after the circle has been created.