Creating a Deck Around a Pool or Hot Tub
Reference Number:
KB-00853
Last Modified:
September 22, 2021
This article also applies to the following legacy products:
Pro | Architectural | Suite
Pro | Architectural | Suite
QUESTION
I would like to design a deck to go around our above-ground pool or hot tub. What is the best way to do this?

ANSWER
You can easily drop a pool or hot tub into a deck by specifying part of the deck room as "Open Below" in the Room Specification dialog.
To create a deck around a pool or hot tub
-
If it's not already open, navigate to View> Library Browser
 , navigate to Home Designer Core Catalogs> Exteriors> Recreation> Pools, Spas, & Waterfront, then choose an appropriate pool or hot tub to place in your plan.
In this example, we chose the Hot Tub object.
- Move your cursor into the drawing area and click to place the pool or hot tub.
- Using the Select Objects
 tool, click on the pool or hot tub to select it, then click the Open Object
  edit button.
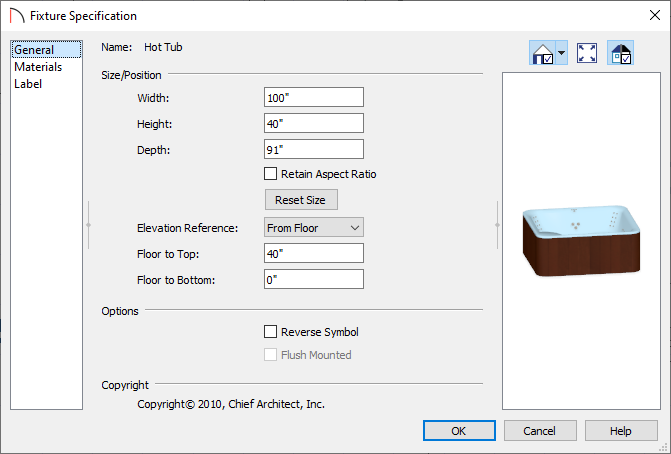
- On the General panel of the Fixture Specification dialog that displays, specify an appropriate size, then click OK.
- Use the Move
 edit handle to position the hot tub or pool where you want it in your plan.
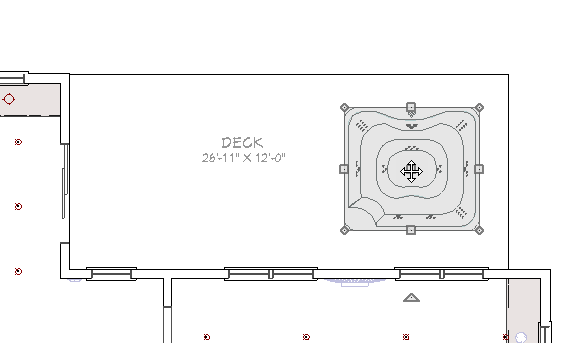
- Select Build> Railing and Deck> Straight Deck Edge
 from the menu, then click and drag to draw a deck room encompassing the hot tub or pool.
- If the deck encompassing the pool or hot tub was drawn inside of a larger deck room, an invisible wall connecting the two rooms will generate automatically, as shown in the image below.
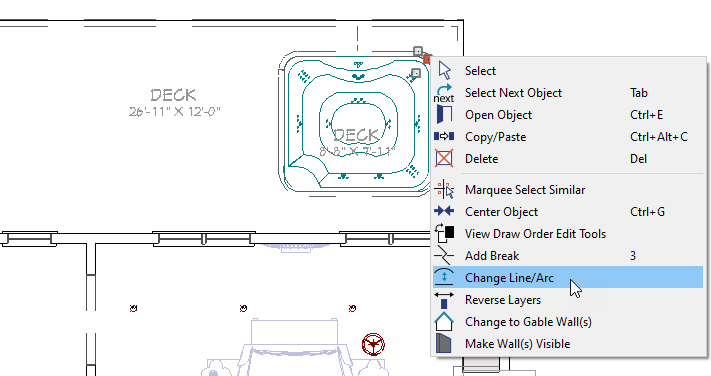
- If your pool or hot tub has rounded edges, such as in our example, you can create the shape and then use the Change Line/Arc
 edit tool on a straight corner segment to form a radius or arc.
- If your pool or hot tub is circular or has a round edge, you may also want to use the Curved Deck Edge
 tool.
tool.
- If the deck encompassing the pool or hot tub was drawn inside of a larger deck room, an invisible wall connecting the two rooms will generate automatically, as shown in the image below.
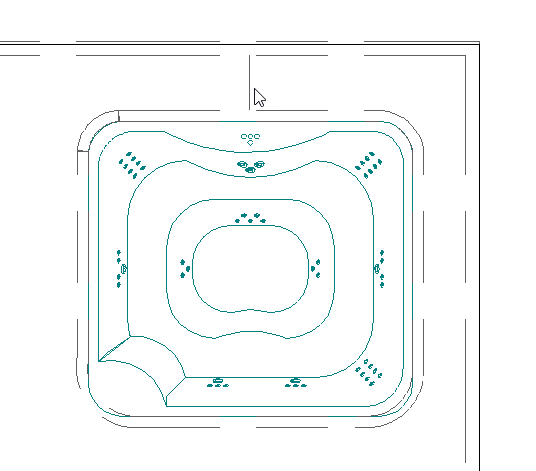
- Using the edit handles, position the deck edges so that they align with the outside edges of the pool or hot tub object.
- Using the Select Objects tool, click in the new deck room to select it, then click the Open Object edit button.
Note: It is likely that the pool or hot tub object will be selected instead of the room. If this is the case, click the Select Next Object edit button or press the Tab key on your keyboard until the room is properly selected.
- In the Room Specification dialog that opens:
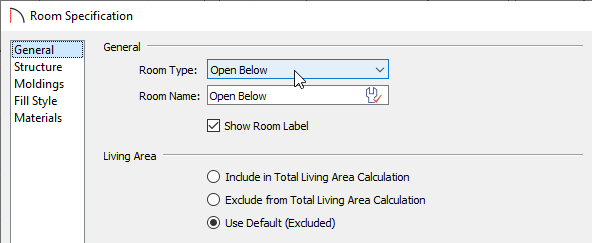
- On the General panel, select Open Below from the Room Type drop-down list.
- On the Structure panel, uncheck Roof Over This Room.
- Click OK to close the dialog.
- On the General panel, select Open Below from the Room Type drop-down list.
- Create a Camera
 view to see the results.
- If needed, open the pool or hot tub up to specification, lower its Floor to Top or Floor to Bottom value so that it rests inside of the deck area, then click OK.
Related Articles