Troubleshooting Room Selection Issues
Pro | Architectural | Suite
QUESTION
I am having trouble selecting a room in my plan. What might be the cause, and how do I fix the issue?
ANSWER
There are several reasons why you may experience trouble with selecting a room in your plan, including:
- A gap between walls.
- One or more walls or railings are marked as No Room Definition.
- One or more incorrect wall connections.
- The Rooms layer may be locked (Applies to Home Designer Pro Only)
In Home Designer, room definition is established when a room is completely enclosed by walls, so the most common reason for being unable to select a room is if you have left a gap between walls, such as for an opening or doorway. To be recognized as a room by the Home Designer software, a room must have an unbroken perimeter.
To correct a gap between walls
- A room in Home Designer is a totally enclosed area defined by any combination of joined Walls, Railings, Half Walls, or Room Dividers (also known as invisible walls), and all of these tools can all be accessed under the Build menu.

- Depending on what you want to achieve, you may want to enclose a space with Walls first, then use the Doorway
 tool to create gaps in the walls.
Individual walls and railings can be marked as "No Room Definition" on the General panel of their Wall Specification dialog. Some walls, such as automatically generated Attic walls which are typically created above Full Gable Walls, will have "No Room Definition" selected by default, and cannot be used to create room definition until this checkbox is deselected.
To check for No Room Definition walls/railings
-
Open
 the Wall Specification dialog for every wall around the room that will not select.
- On the General panel, if any walls have the No Room Definition box checked, remove the check, then click OK.

Note: If you want to be able to dimension to automatically generated Attic Walls, also uncheck the No Locate box before clicking OK.
- If the Room still will not select, continue around the room's entire perimeter until you have verified that all of the walls are not set as No Room Definition.
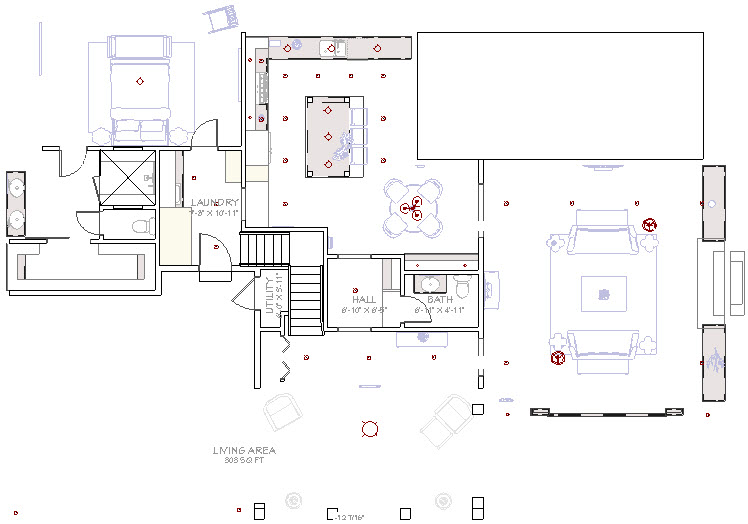
If you do not think you have left a gap in between the walls, and you have checked every wall and made sure that they do not have No Room Definition selected, then you may have a bad wall connection. Often if this is the root cause, the entire Exterior Room will highlight, you may have a broken wall icon following your mouse cursor, and/or you may see a yellow warning triangles pointing out where the unconnected wall(s) are located, as shown in the image below.

Alternately, you may notice wall connections that look incorrect without the warning triangle, particularly if three or more walls are connected to one another, or in a curved wall connection situation.
To fix bad wall connections
- If you see any warning triangles at the end of the walls, or that simply look incorrect in your 2D floor plan view, zoom in on these, select one of the walls, and use the edit handle to drag the wall back, then reconnect the segment to the other wall.
Clicking on the warning triangle will allow you to ignore the unconnected wall so that you don't see these warning triangles or delete the wall.
- Once all of the wall connections are corrected, you should be able to successfully select the room.
If you're using Home Designer Pro and you have not left any gaps, visually do not see any incorrect wall connections, and cannot select any rooms at all in your plan, then you may have locked the Rooms layer in your plan.
If you're using Home Designer Architectural or Home Designer Suite, please submit the plan file to our Technical Support team using the Technical Support Center. More information on submitting your plan can be found in the Related Articles section below.
To unlock the Rooms layer*
*Applies to Home Designer Pro Only
- In Home Designer Pro, navigate to Tools> Display Options
 .
.
- Scroll down to the "Rooms" layer and click in the Lock field to remove the padlock icon.

- Click OK to apply the change.
If you are still unable to resolve the issue following these steps, please submit the plan file to our Technical Support team using the Technical Support Center, as discussed in the Related Articles section below.