Aligning Walls Between Floors
Pro | Architectural | Suite
QUESTION
I have a multiple floor structure and would like to know how to align the walls from one floor to another. How is this accomplished in Home Designer?
ANSWER
Wall alignment refers to the way wall segments line up with one another, either on the same floor or on the floor above or below. Walls may need to be aligned in a variety of situations.
On a plan created using Home Designer, the walls on one floor can be aligned with the walls on a second floor. This article will describe how to check wall alignment, and how to align walls between floors.
To align walls between floors
- Using the Select Objects
 tool, click on the wall that you want to align.
- When two walls between floors are close to being aligned, the Align with Wall Above
 and Align with Wall Below
  edit tools can be used to align those walls along their main layers.
If the walls are already aligned, or if the distance between the two walls is too great, then these edit tools will not display, and you may need to turn on the Reference Display to verify which of these two conditions exists.
To turn the Reference Display on
- From the menu select Tools> Floor/Reference Display> Change Floor/Reference to display the Change Floor/Reference dialog.
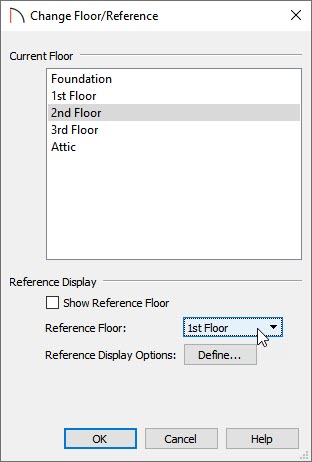
- Click the desired Current Floor to select it.
For the purposes of our example, we will select the 2nd Floor.
This is the floor that will display in floor plan view, and can be edited.
- Next, click to select the desired Reference Floor.
For the purposes of our example, we will select the 1st Floor.
This is the floor that will be compared to the Current Floor, and will appear as a red outline.
- Once you have made your selections, click the OK button.
- To see the reference floor, select Tools> Floor/Reference Display> Reference Display
 , or by pressing F9 on your keyboard.
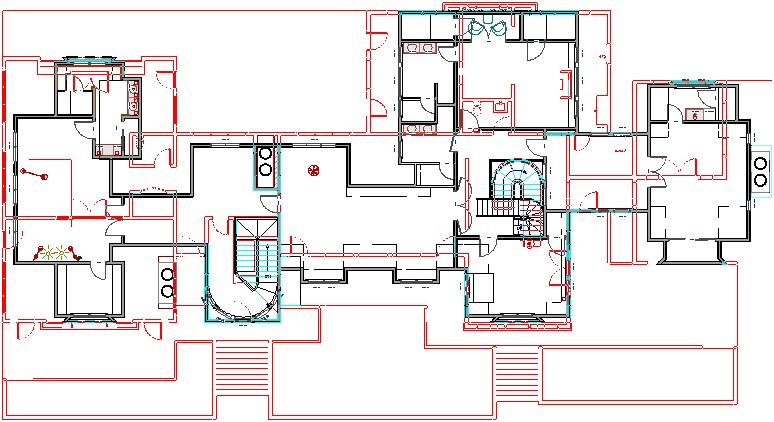
The Reference Floor will be superimposed in red on the Plan view of the Current Floor.
To align walls between floors
- Using the Select Objects tool, click a wall on the Current Floor once to select it.
- Next, click and drag the edit handle at the center of a wall to reposition it to overlap a wall on the Reference Floor.
- The wall will automatically snap to the Reference Display, however you can also hold down the Ctrl/Command key on your keyboard to allow for unrestricted movement to manually align the walls.