Editing Objects in 3D Views
Reference Number:
KB-00260
Last Modified:
July 23, 2021
This article also applies to the following legacy products:
Pro | Architectural | Suite
Pro | Architectural | Suite
QUESTION
Is it possible to edit my plan in 3D views?
ANSWER
In the Home Designer programs, you can create and edit a number of objects, including wall openings, fixtures and furniture, and images in 3D views. In this example, a window is created and then edited in 3D; however, the same basic rules applyto doors, fireplaces, fixtures, furniture and images.
To edit objects in a 3D view
- Select Build> Wall from the menu to access the Wall Tools
 and draw your exterior and interior walls.
- When your walls are in place, select a 3D view tools from the 3D menu, such as the Full Overview and create a 3D view.
- To create a window in this view, select Build> Window> Window
 from the menu, then click on a wall in your view to place a window at that location.
- To edit this window, click on the Select Object
 arrow tool, then click on the window to select it.
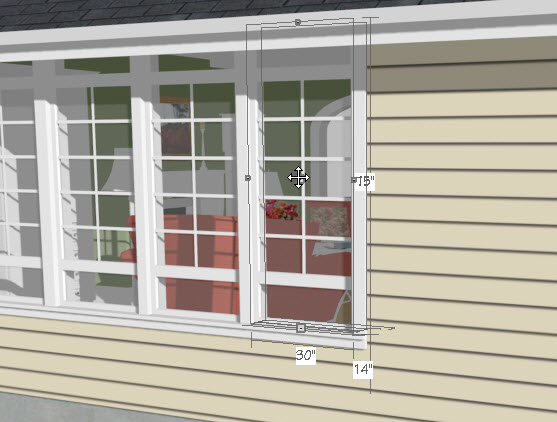
- There are several ways to edit this object:
- Use the edit handles that display along its edges to resize the window.
- Use the Move
 edit handle that displays at its center to move it to a new location.
- Click the Open Object
 edit button to open the Window Specification dialog.
- Select 3D> Material Painter> Material Painter
 , then choose a new material for any component of the window and click on that component to apply the new material.
- Use the edit handles that display along its edges to resize the window.