Using the Blend Colors With Materials Tool
Pro | Architectural | Suite
QUESTION
When I use the Material Painter to apply a paint color, the object becomes a single, solid color that no longer looks like my original material. How can I apply a paint color over the existing material?
ANSWER
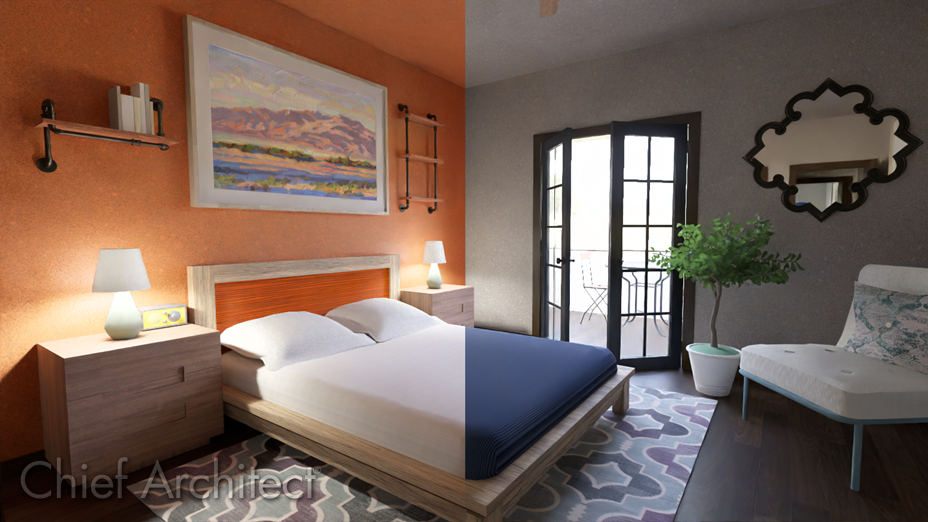
In addition to the Material Painter modes, the Blend Colors With Materials option allows you to apply a solid color to a surface displaying a texture and blend the two, as shown in the image above.
To blend colors with materials
- Create a Camera
 view of your your plan.
- Select 3D> Material Painter> Material Painter
 from the menu.
- Select a solid color from the Select Material dialog, then click OK.
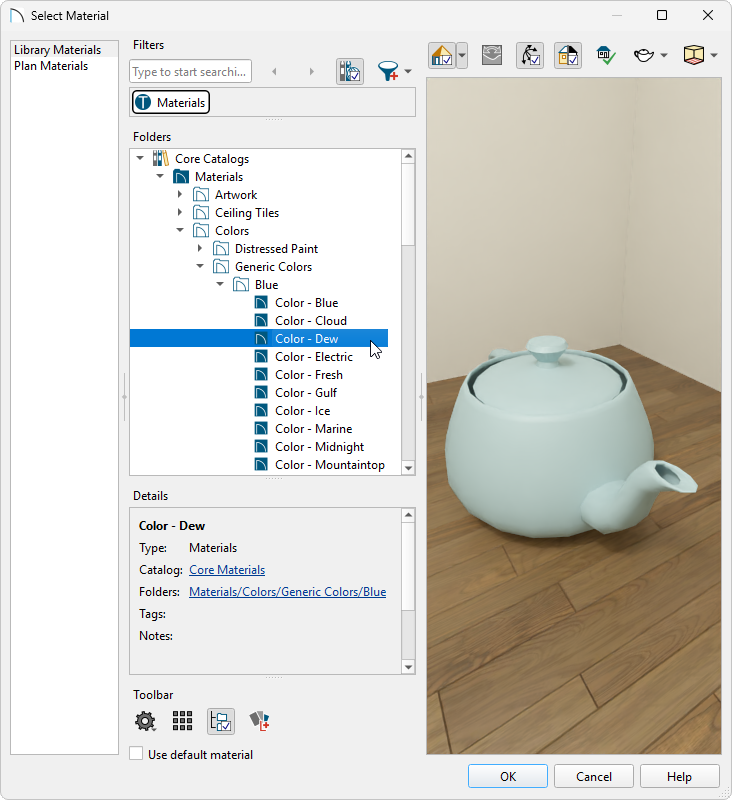
- Select your desired material painter mode from the Edit toolbar.
Note: Please see the "Using the Different Scoping Modes..." resource in the Related Articles section to learn more.
- Click the Blend Colors With Materials
 edit button to toggle this feature on if it's not already enabled.
You can also access this option by navigating to 3D> Material Painter> Blend Colors With Materials from the menu.
Note: If you don't see this option on the Edit toolbar, the material includes a texture, which is indicated by a spray can icon
 following your cursor. Applying it will replace the existing material completely without blending.
- With the following icon
 now following your cursor, click on an object in the camera view to blend the chosen color with the applied material.