Creating a Transom and Side Lites for a Door
Reference Number:
KB-01262
Last Modified:
July 21, 2021
The information in this article applies to:

QUESTION
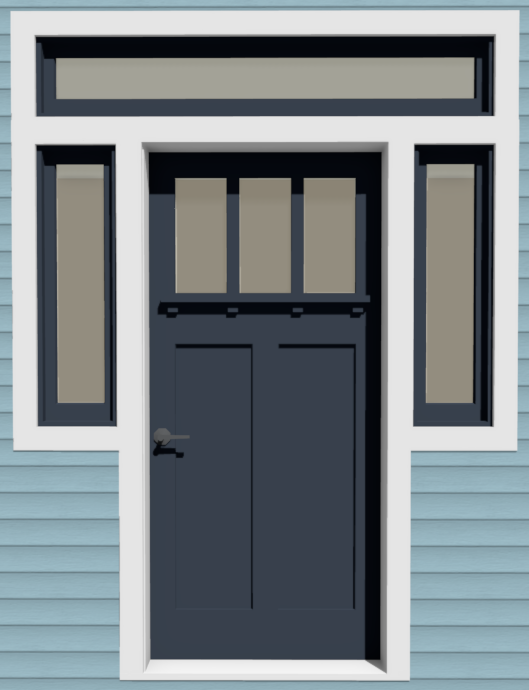
I would like to add a transom and side lites to a door in my plan. How do I do this?

ANSWER
In Home Designer, a selection of entryways with transoms and side lites can be found in the Library Browser under Home Designer Core Catalogs> Architectural> Doors and Doorways> Entryways.
However, if you do not find a doorway that suits your needs in the library, you can create one yourself using the Door and Window Tools
To create a door with side lites
-
Open
 the Home Designer plan in which you would like to create an doorway with side lites and a transom.
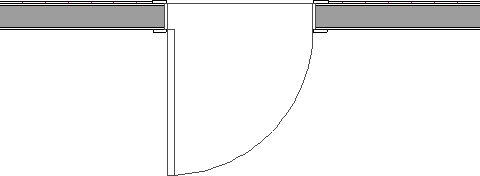
- Select Build> Door> Hinged Door
 from the menu, then click once on the entry wall to place a door at that location.
- With the door selected, click the Open Object
 edit button and in the Door Specification dialog that opens:
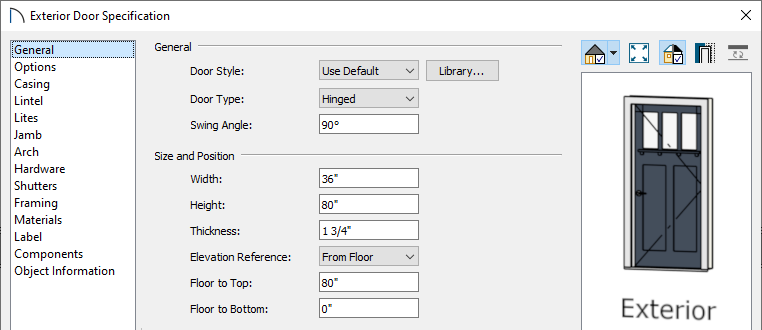
- On the General panel, specify the Width and Height that you would like your entry door to be.
- On the Materials panel, specify the materials that you would like applied to this door.
- Make any other changes that you would like, then click OK to close the dialog.
- On the General panel, specify the Width and Height that you would like your entry door to be.
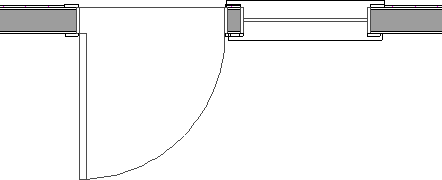
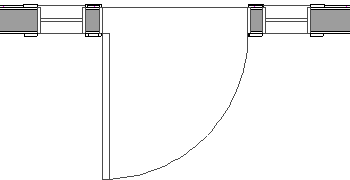
- Select Build> Window> Window
 and click once on the wall of your entry to create a window at that location. This window will become a side lite.
- If you are not able to place the window on the entry wall because the area is too constricted, temporarily move the door to one side.
- If there is still too little room, place the window in another wall where there is enough room, make the window smaller, then copy and paste it onto the entry wall.
- If you are not able to place the window on the entry wall because the area is too constricted, temporarily move the door to one side.
- Click on this window to select it, then click the Open Object edit button.
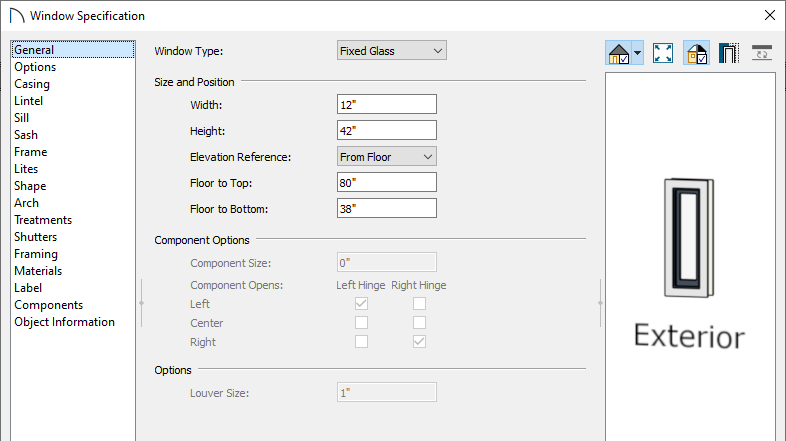
- In the Window Specification dialog that displays, make any necessary changes to this window, as it will serve as one of the side lites.
- On the General panel, set the Window Type, Width, Height, and the Floor to Top value.
For this example, the Window Type is set to Fixed Glass, the Width is set to 12", and the Height is set to 42". We also want to make sure that the window's Floor to Top height is the same as the door's height.
- On the Sill panel, uncheck Use Interior Sill and Use Exterior Sill.
- Choose to add lites to the window on the Lites panel.
- Make any other necessary changes then click OK to close the dialog.
- On the General panel, set the Window Type, Width, Height, and the Floor to Top value.
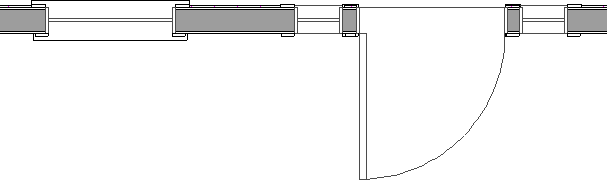
- Click on the window to select it, then click the Copy/Paste
 edit button. Click once on the other side of the door to place an exact copy of the window at that location.
- If necessary, click on each window and use the Move
 edit handle that displays at its center to slide it towards the door.
- Select 3D> Create Perspective View> Full Camera
 from the menu and click and drag a camera in the direction of the entry door and side lites.
To create a transom
- Select Build> Window> Window and click once on a wall near your entry to create a window at that location. This window will become the transom and will be moved into position, so its location at this time is not important.
- If there is too little room on the entry wall to place this window, place it in another wall where there is enough room, edit it as described below, then copy and paste it onto the entry wall.
- Click on this window to select it, then click the Open Object edit button.
- In the Window Specification dialog that displays:
- On the General panel, specify the Width, Height, and Floor to Top that you would like the transom window to be.
For this example, the Window Type is set to Fixed Glass, the Width is set to 68", the Height is set to 12", and the Floor to Top value is set to 96".
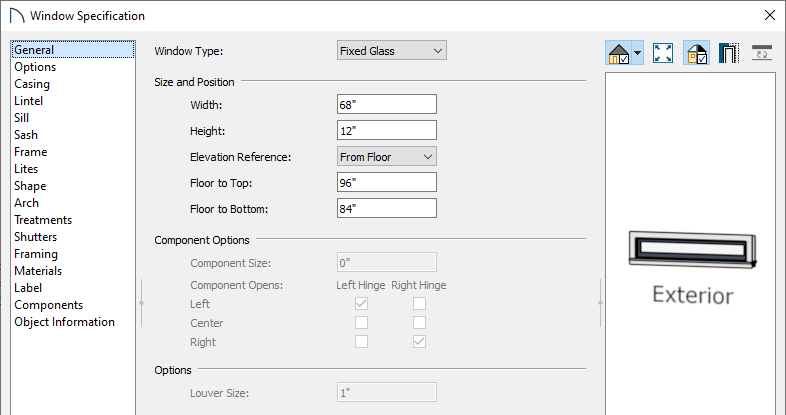
The exact size and height aren't important now, but you do want this window to be high and narrow enough that it will fit between the ceiling of the room inside the door and the top edge of the door and side lites.
- On the Options panel, specify the Vertical Stacking as Level 1.
- On the Sill panel, uncheck Use Interior Sill and Use Exterior Sill.
- Choose to add lites to the window on the Lites panel.
- Click OK to close the dialog and apply your changes.
- On the General panel, specify the Width, Height, and Floor to Top that you would like the transom window to be.
- Using the Select Objects
 tool, click on the transom window to select it, click the Center Object
  edit button, then click once on the middle of the door to center it on the door.
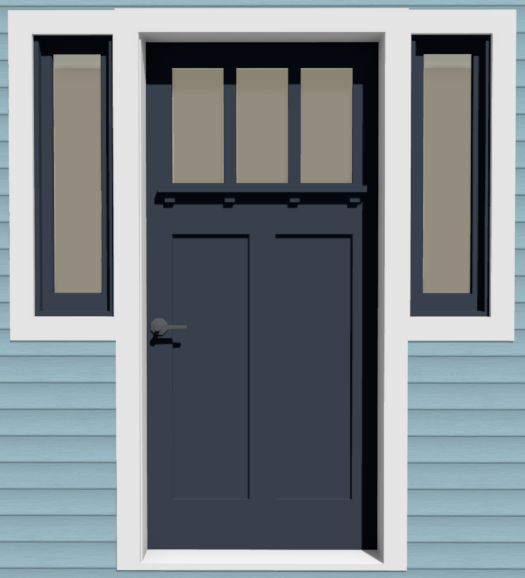
- Select 3D> Create Perspective View> Full Camera from the menu and click and drag a camera arrow in the direction of the entryway to see the results.